VMware
KUSANAGI for VMware is a free virtual machine image built to execute WordPress at high speeds on VMvare.
About Corresponding VMware Product
KUSANAGI for VMware is support to the following enviroment.
- Desktop Environment :VMware Workstation 12 Pro
- On-premise Environment :vSphere ESXi:Version 6.0.0
Here’s VMware Workstation12Pro configuration
Here’s vSphereESXi configuration
Compatibility Information of VM(Corresponding with Workstation 6.5-7.x)
List of software:
ESXi 6.0
ESXi 5.5
ESXi 5.1
ESXi 5.0
ESXi 4.x
Fusion 8.x
Fusion 7.x
Fusion 6.x
Fusion 5.x
Fusion 4.x
Fusion 3.x
Fusion 2.x
Server 2.x
Workstation 12.0
Workstation 11.x
Workstation 10.x
Workstation 9.x
Workstation 8.x
Workstation 7.x
Workstation 6.5

To import the KUSANAGI for VMware image to other public cloud
IDCF-Cloud is available to import the image.
https://www.faq.idcf.jp/app/answers/detail/a_id/143
VMware(R) Workstation 12 Pro Instructions
1.Download KUSANAGI image
1-1.Download OVA image by web browser.
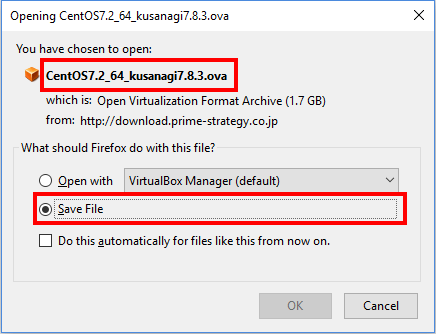
http://download.prime-strategy.co.jp/CentOS7.2_64_kusanagi7.8.3.ova
1-2.Confirm .ova extension file exists.
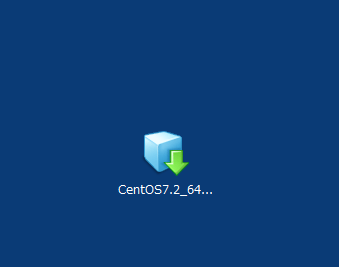
2.Import OVA file to VMwareWorkstationPro
2-1.Open file from VMwareWorkstationPro

2-2.Confirm .ova extension file exists

2-3.Enter the virtual name and storage path.

2-4.Import ova file

2-5.Configure NW settings refers to your environment.
The default settings is shows as the following.
RootPassword:4XhXygXW9nAdisDb
NETWORK Default Settings
NIC:bridge
IP:192.168.123.193
MASK:255.255.255.0
Gateway:192.168.123.254

2-6.Start the Virtual Machine
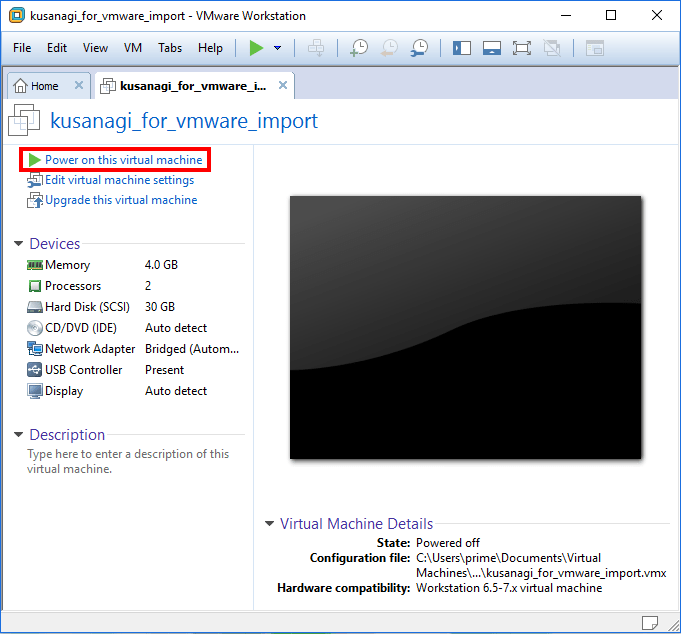
2-7.Login to console and configure NW settings and password.

3.Kusanagi Initialization
3-1.Please refer to the the following document for more details about KUSANAGI Initialization.
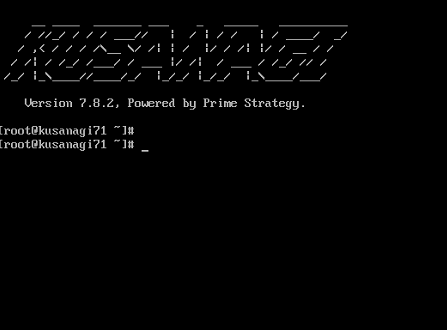
vSphere ESXi Instructions
1.Download kusanagi image
1-1.Download OVA image with browser.
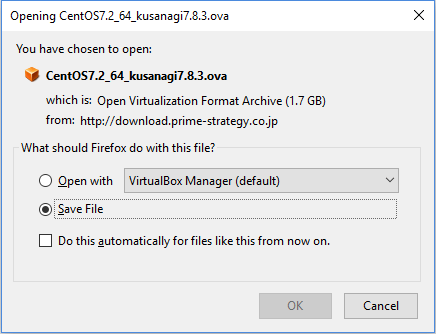
http://download.prime-strategy.co.jp/CentOS7.2_64_kusanagi7.8.3.ova
1-2.Confirm .ova extension file exists.

2.Login to VMware vSphereClient
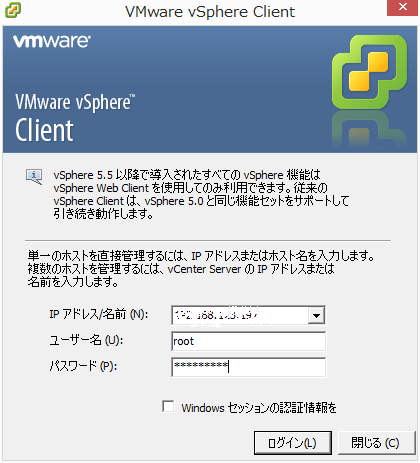
3.Deploy OVF template
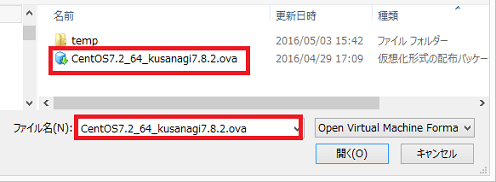
3-1.Designate source location (File→Deploy OVF template→Select Downloaded ova file)
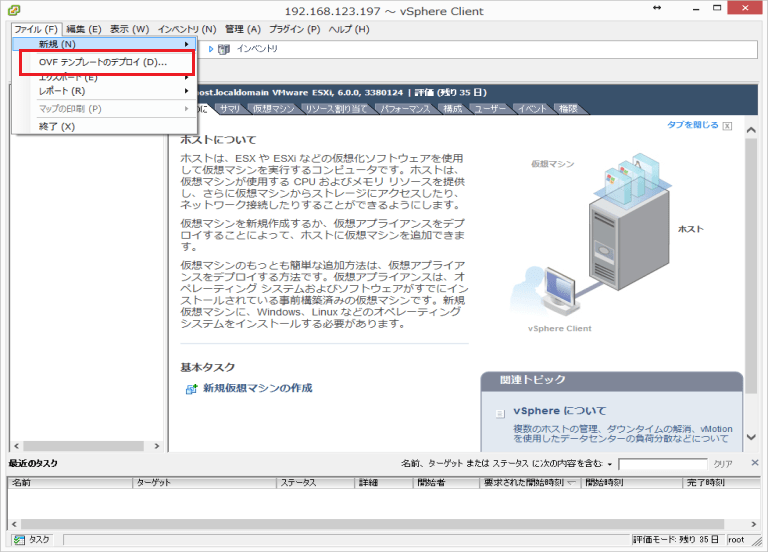
3-2.Select Downloaded ova file
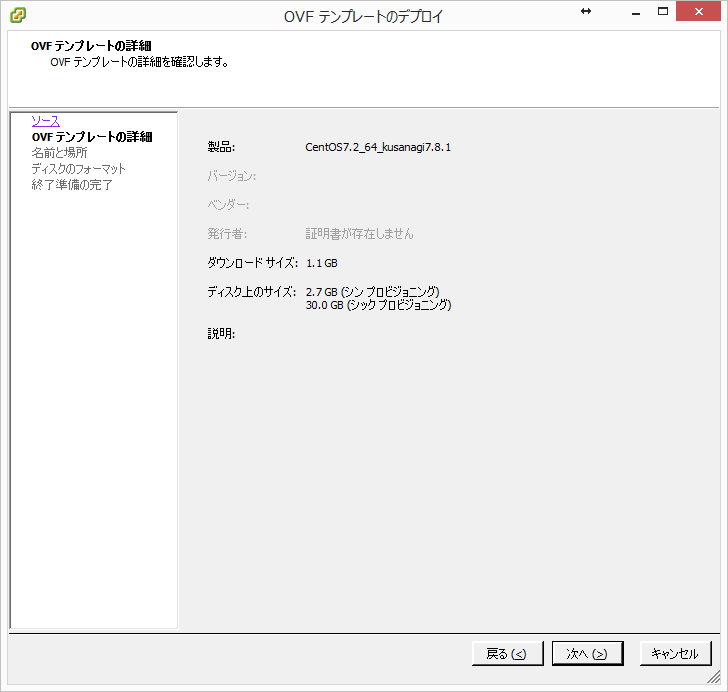
4.OVF template details
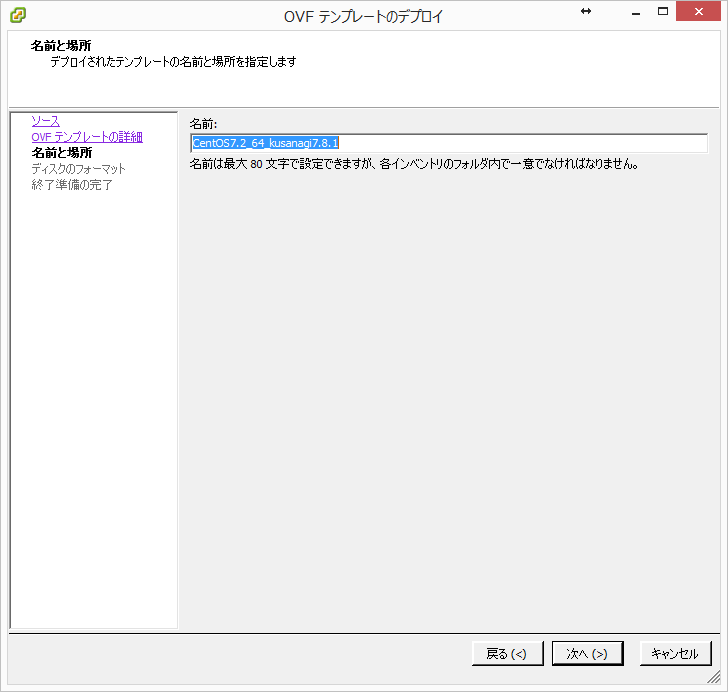
5.Designate OVF template name and location
6.Designate Disk Format
7-1.Designate Downloaded ova file
Refer to your environment, select the method of visual disk provisioning.
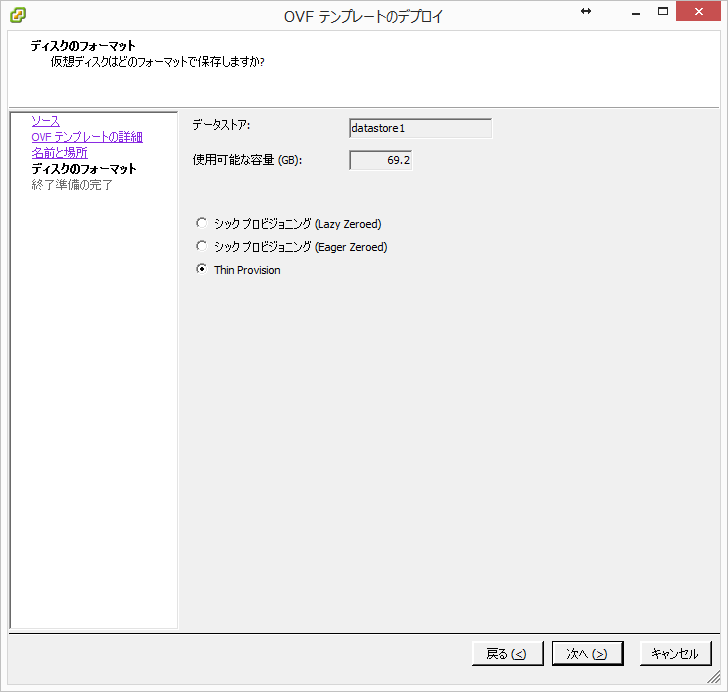
・Thick Provisioning(Lazy Zeroed):Space required for the virtual disk is allocated when the virtual disk  is created.
・Thick Provisioning(Eager Zeroed):Space required for the virtual disk is allocated when the virtual disk  is created. In contrast to the flat format,the data remaining on the physical device is zeroed out when the virtual disk is created.
・Thin Provisioning:Use  this format to save storage space. For the thin disk, you provision as much datastore space as the disk would require based on the value that you enter for the disk size.
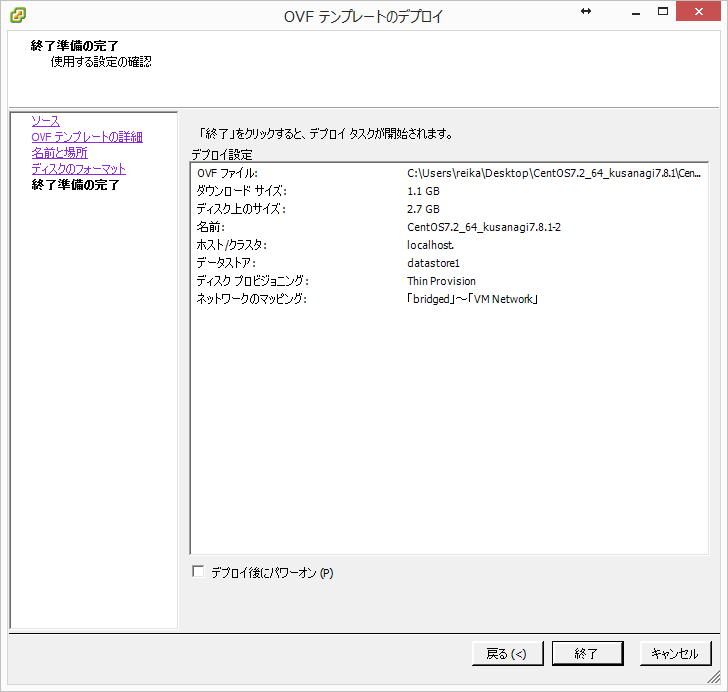
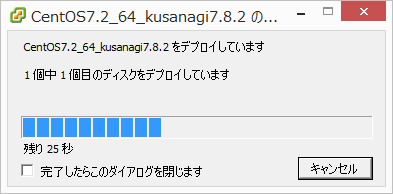
8.Deploy OVF template
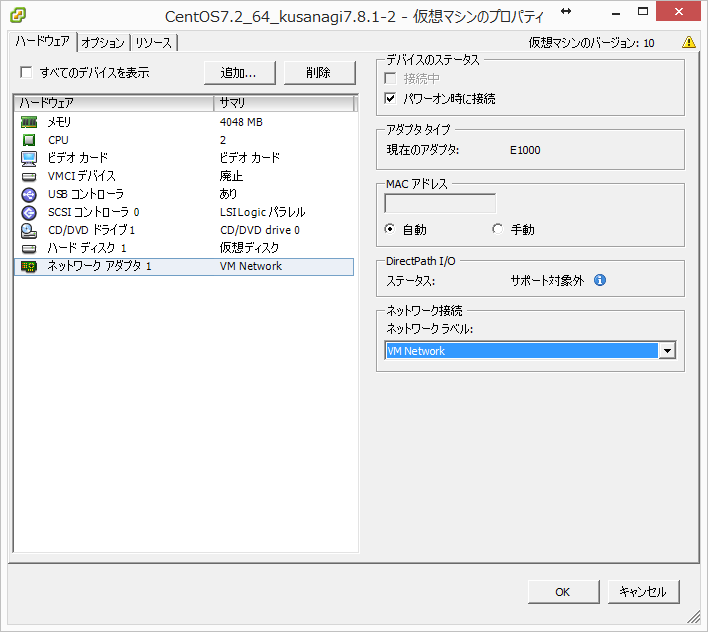
9.Configure NW settings refers to your environment.
The default settings is shows as the following.
default RootPassword:4XhXygXW9nAdisDb
NETWORK default settings
NIC:bridge
IP:192.168.123.193
MASK:255.255.255.0
Gateway:192.168.123.254
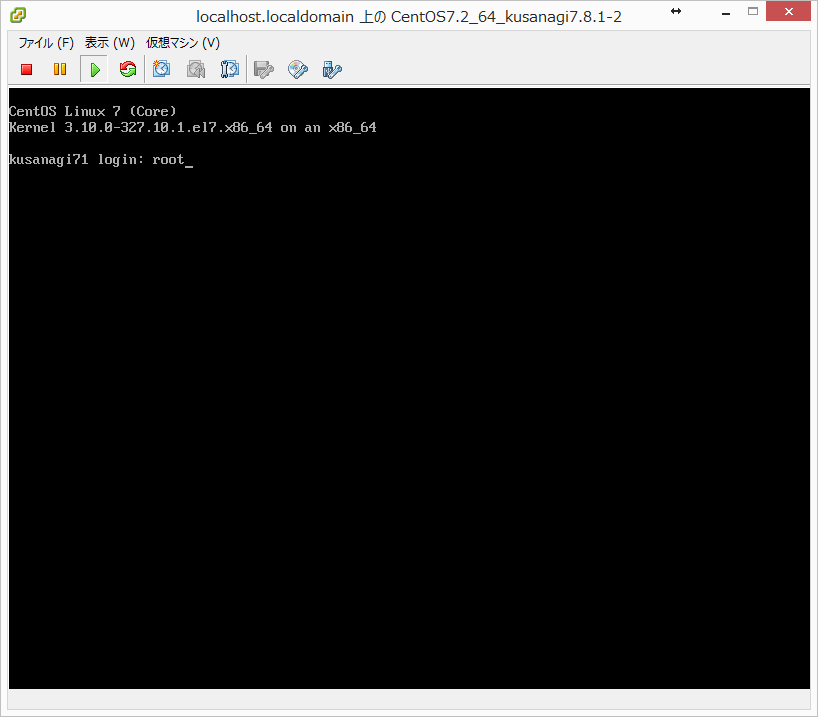
9.Login to console and configure NW settings and password.
10.Kusanagi Initialization
Please refer to the the following document for more details about KUSANAGI Initialization.

