Drupal8 Installation
Access to the virtual machine with browser, and begin installing Drupal8.
1. Choose your Language
Access to the URL configured at the step「5.Host Name Configure」 of KUSANAGI provision.
「Choose Language」will display on your screen.
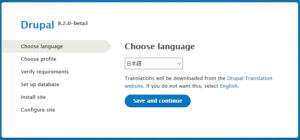
Choose your language and click「Save and continue」to continue your process.
2. Select your Profile
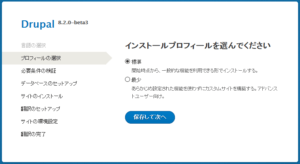
You have option to install your install profile as standard size or minimum size, click 「Save and continue」to continue your process.
We stronger suggest you choose Standard size at here/
3. Requirements Confirmation
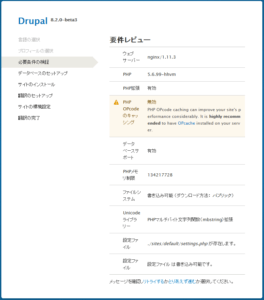
Requirements confirmation will display on your screen. Please notice PHP OPcodeHHVM will invalid if you using in HHVM, but it won’t cause any problem.
Click「Continue」link to continue your process.
5. Setup Database.
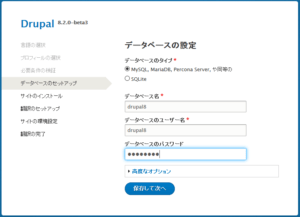
Input your database information.
Click「Save and continue」after you done.
| Database’s Name | Input your「Database’s Name」 |
|---|---|
| Database’s Username | Input your「Database’s Username」 |
| Database’s Password | Input your「Database’s Password」 |
Input KUSANAGI Provision information at here.
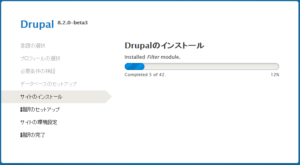
6. Site Installation
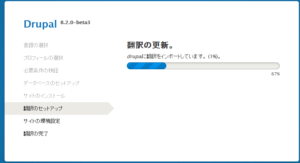
Processing site installation and Renewal Translation( Renewal Translation is not necessarily if your Drupal8’s language is in English )
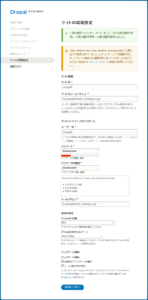
7. サイトの設定
Input site information and click「Save and Continue」to continue your process.
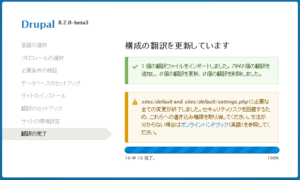
8. Renewal Translation( Renewal Translation is not necessarily if your Drupal8’s language is in English )
Processing.
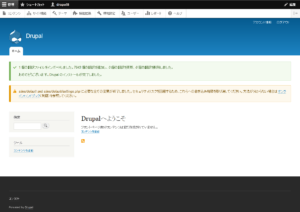
The following picture showing the standard of top page after installation is completed.
Confirmed your installation, please execute the following commands as root.
# /home/kusanagi/{profile}/after_install.sh
Your Drupal8’s installation have been done.
For more details, please read the documentation pages about KUSANAGI commands. Also check out the FAQ.
