KUSANAGI for GCP is a free Ultrafast Virtual Machine for Google Cloud Platform.
Recommended environment: Memory 4 GB or more
How to use KUSANAGI for GCP
We assume that you already have an account for Google Cloud Platform (hereafter called GCP) and you are logged into GCP’s cloud console https://cloud.google.com/ from GCP portal. It is recommended to use the “Chrome” browser with GCP.
1.Create a GCP image from a disk image
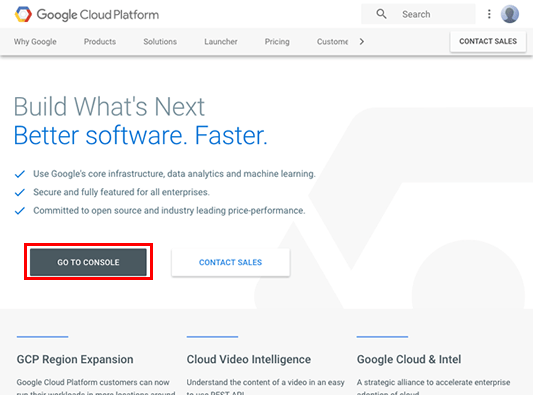
Click “Open Console”.
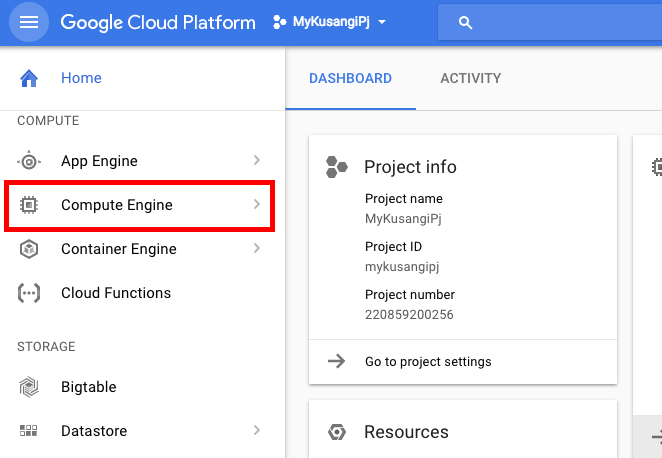
Click “Compute Engine”.
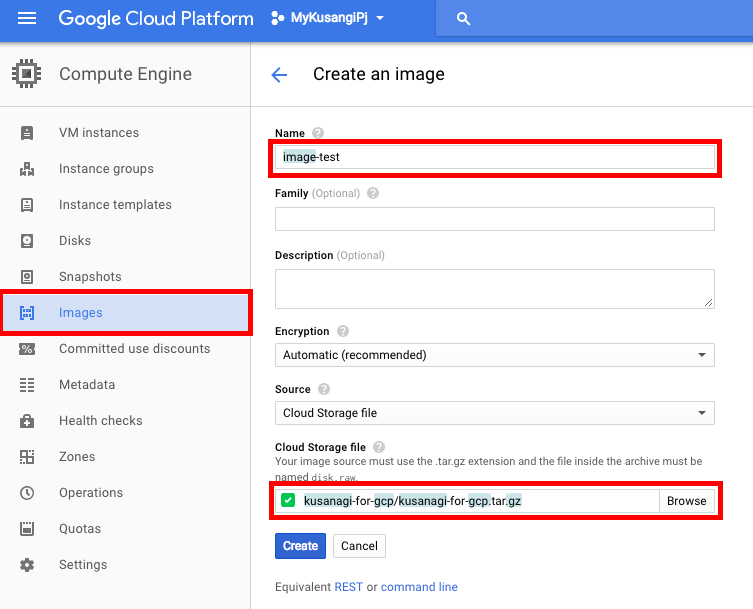
Click “Image”, designate any name (here we have taken “image-test” as an example), under “Cloud Storage” browse and select “kusanagi-for-gcp/kusanagi-for-gcp.tar.gz”.
2.Create an instance from the image created above
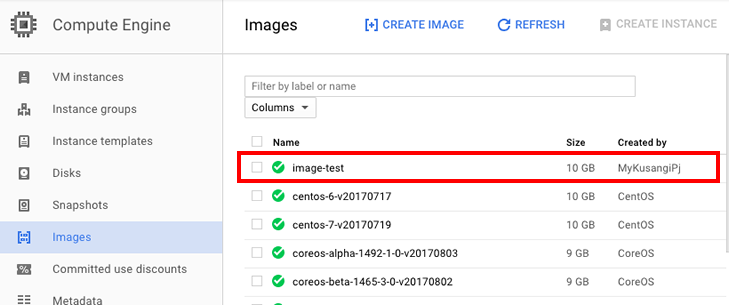
As shown below, an image named “image-test” has been created.
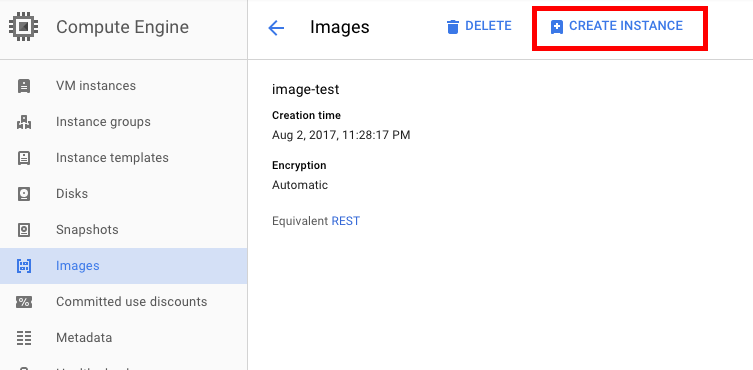
Click “image-test” and click “Create Instance”
Choose the specifications for the machine (recommend vCPUx 2), check to allow HTTP and HTTPS traffic, click “Create”
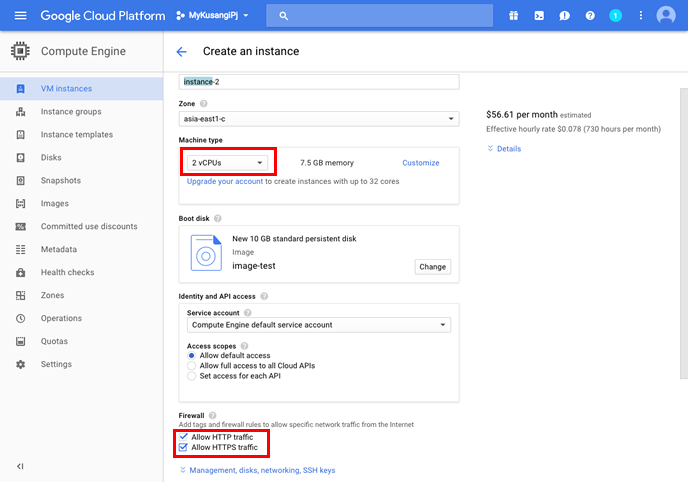
As shown below, “instance-1” is created.
3. Log in to the virtual machine and prepare for the initial setup
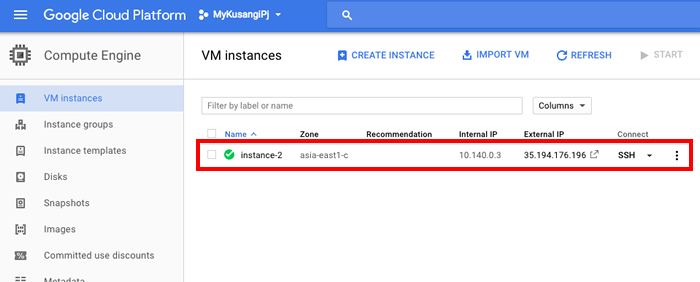
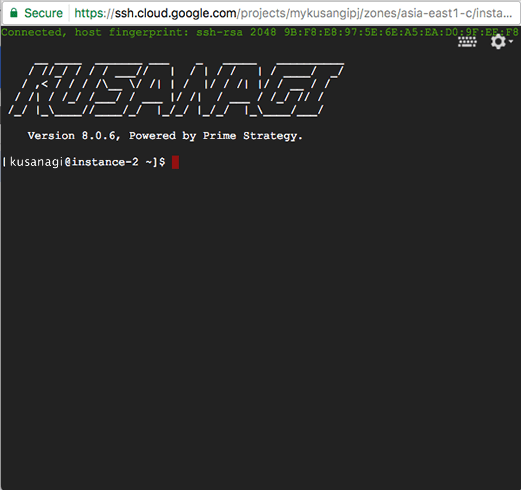
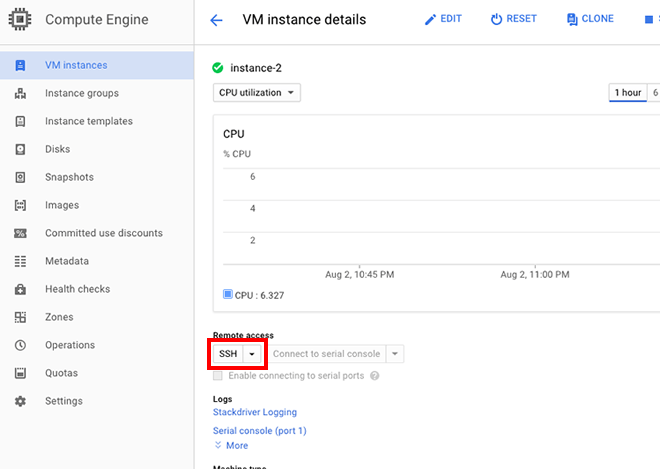
It is possible to connect remotely by clicking “ssh”.
*GCP page shows “Request a license” on the Suggested next steps, but you can use KUSANAGI without a license.
Please refer to the following document for the procedure after the initial setup of KUSANAGI.


