concrete5 installation
Accessing to virtual machine from web browser,concrete5 installation will start.
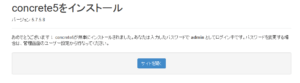
1. concrete5 installation
It is necessary to access th the configured URL at「5.Configuration of host name」 of KUSANAGI provisioning.
「Install concrete5」will display.
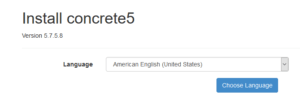
2. Language selection
Select Language from the language menu,and then press the「Choose Language」button.
Japanese selected below.

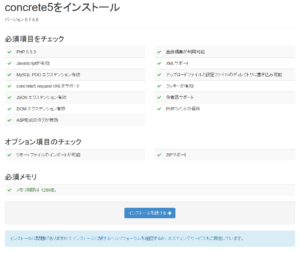
3. Configuration check screen
Make sure all the necessary items are checked、press the「install continue」button.
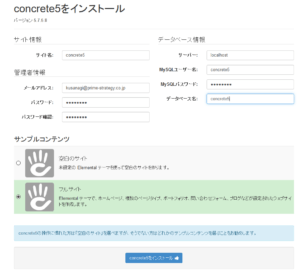
4.Site information selection
Type in the site information、administrator information,and database information.
Type in the site information、administrator information as you like. administrator can
Type in the database information as follows.
| host name | localhost |
|---|---|
| database name | Created database name at「database configuration」 |
| user name | created database user name at「database user configuration」 |
| password | created password at「database user password configuration」 |
Type in the information you configured at KUSANAGI provisioning
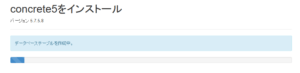
5. installation complete
Press the button「concrete5 installation」,then installation begins.
6. concrete5 top screen
When the concrete5 installation is done,the screen will be as follows,by pressing the button「site open」concrete5 screen will display
Make sure of the top page display.
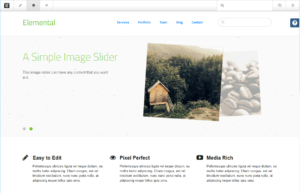
concrete5 installation is done.
See document page for KUSANAGI commands information .See frequently asked questions at FAQs page.