
Step 1: Create a Hostinger VPS Account
- Head to the Hostinger website and select the VPS hosting option.
- Select a VPS plan that meets your requirements (CPU, RAM, storage).
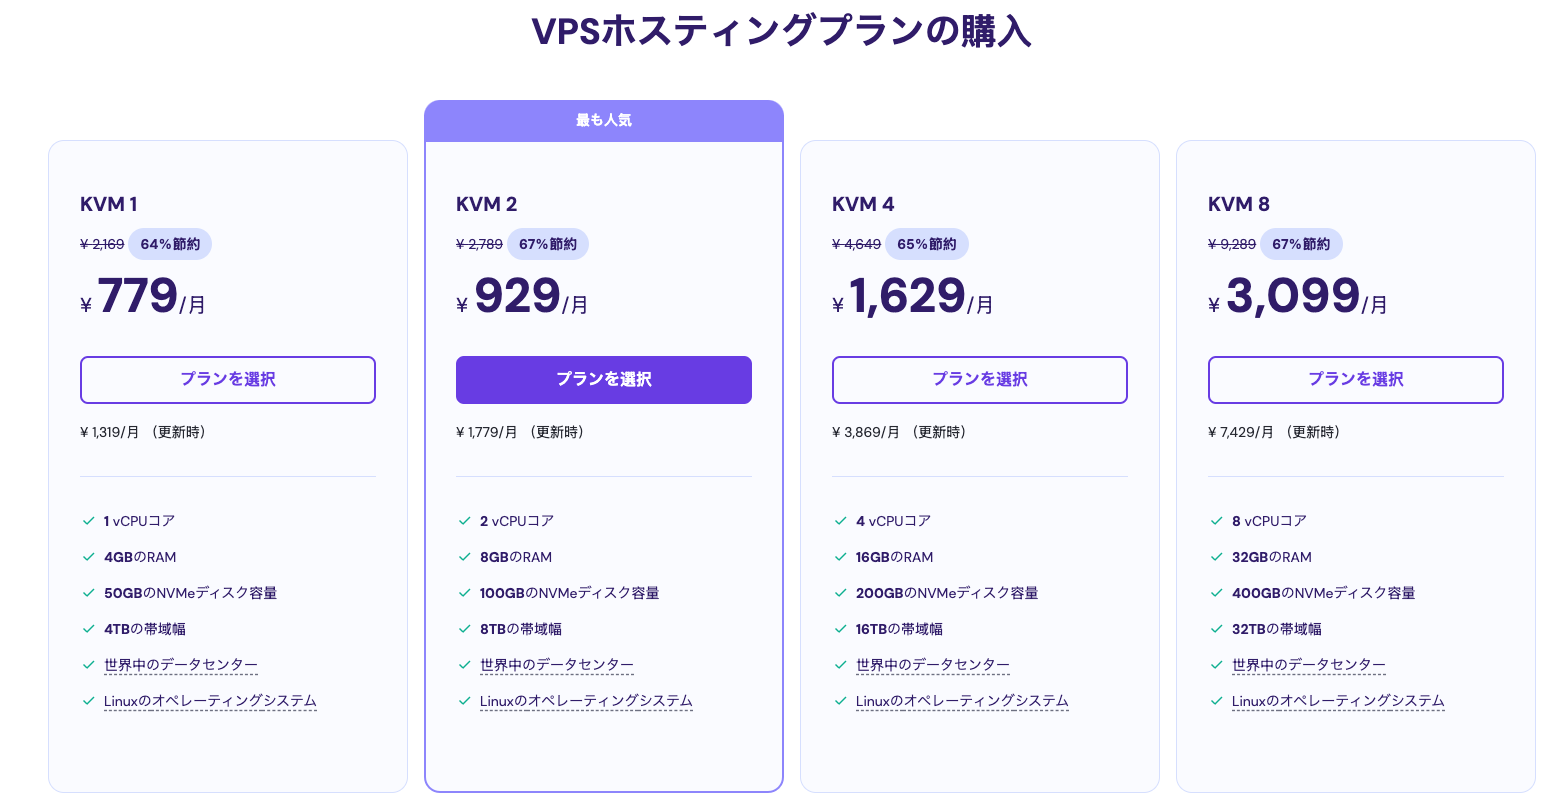
- Complete the registration process and make payment.
Step 2: Choose a KUSANAGI Template
- In the next step, select your preferred data center location.
- Select the template that best suits your project.
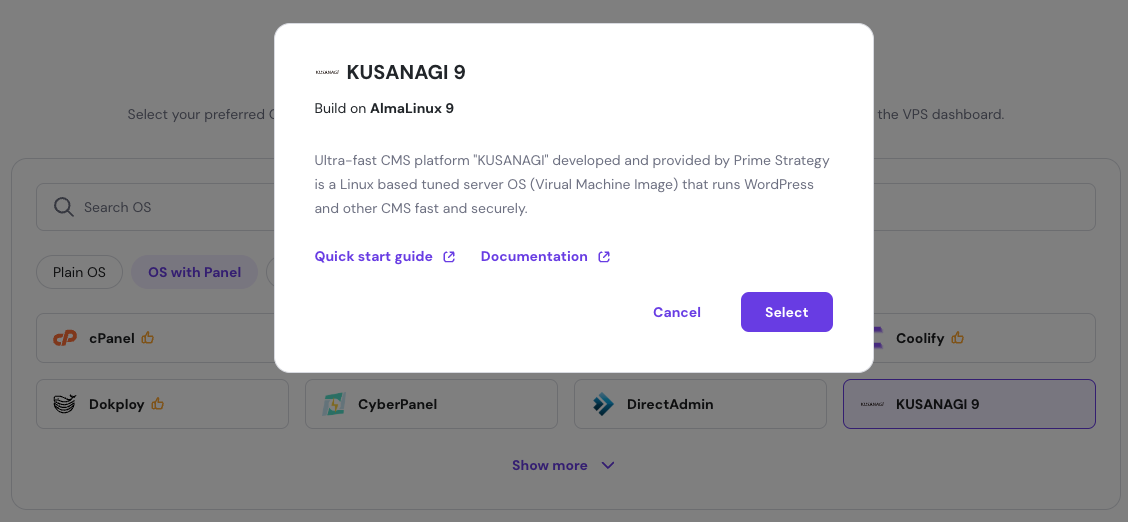
- Consider factors such as applications used and expected traffic.
Step 3: Access the KUSANAGI Dashboard
Once the deployment is complete, you'll be able to access KUSANAGI from your VPS dashboard by pressing the “Browser terminal” button.

Quick links to knowledge base: