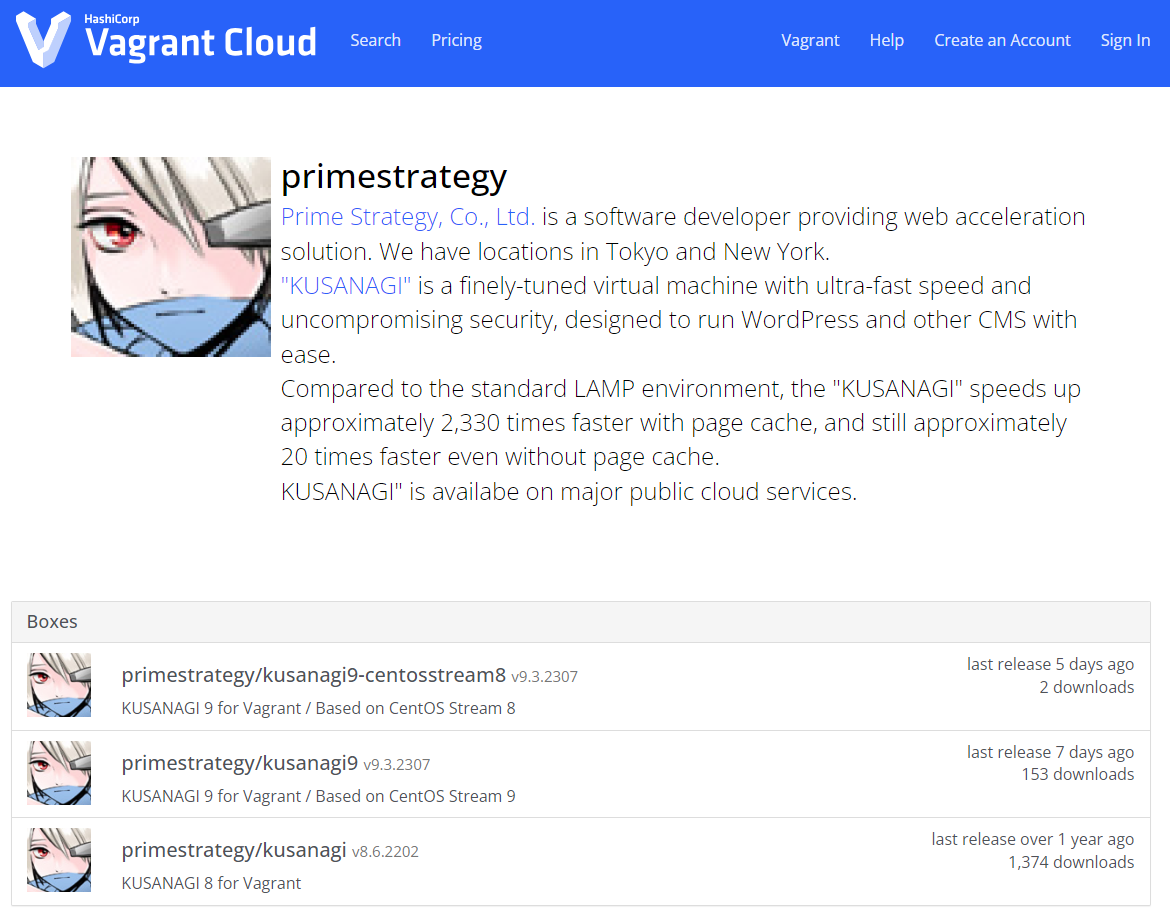
KUSANAGI 9 for Vagrant is a free virtual machine image that runs at high-speed WordPress and other CMSs for Oracle VirtualBox and Vagrant.
The free version of KUSANAGI can be upgraded to the "Business Edition" for business use, or to the "Premium Edition", a top-of-the-line edition equipped with a web acceleration engine.
For more information on upgrades, please refer to the following link.
KUSANAGI Editions
Introduction
Features
- KUSANAGI can be installed independent of the OS.
- The KUSANAGI environment can be easily built.
- You can build a KUSANAGI environment on your personal PC.
- You can focus on development and verification without worrying about the effect on other developers.
Points to Keep in Mind When Installing
- The CPU of the host PC may not initially support virtualization.
-> PCs made after 2008 should have basic features to support virtualization. However, since these features are often disabled in the BIOS, check the BIOS settings and see if the VT item is set to "Disable". In older PCs, the CPU may not support virtualization, in which case, please use a PC that does. - It may not work if the user name contains Japanese characters (Windows environment).
-> Create another user with an alphabetical name and try to do a "vagrant up". - The first time you do "vagrant up" it will take some time, because the Vagrant box file is downloaded via the Internet. If the communication bandwidth is narrow, there's a high possibility of failure during the process, so please consider using a line with greater bandwidth.
- Depending on the version of Mac and the level of enhanced security (High Sierra or higher), VirtualBox may be blocked by default settings.
Go to "System Preferences" and check the Security and Privacy settings. There should be a message saying that "Oracle America, Inc is blocked", in that case, please select "Allow".
How to use KUSANAGI 9 for Vagrant
The steps below are for the Windows version, but you can also install it on Mac and other OS using the same steps.
- Install VirtualBox
- Install Vagrant
- Install KUSANAGI 9 for Vagrant Box
- Edit Vagrantfile
- Start the Virtual Machine and Prepare for Initial Setup
Install VirtualBox
- Download the Windows version of VirtualBox from the link below.
Oracle VM VirtualBox - Downloads - Double-click the downloaded file to launch the installer and keep pressing OK to install.
- Once installed, the following icon will appear.

Install Vagrant
- Download the Windows version (64-bit) of Vagrant from the link below.
Install | Vagrant | HashiCorp Developer - Double-click the downloaded file to launch the installer and keep pressing OK to install.
- Restart your PC
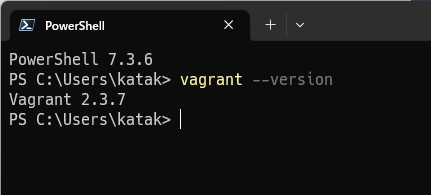
- Once installed, version information will be displayed when you run the "vagrant --version" command in PowerShell as shown below.

Install KUSANAGI 9 for Vagrant Box
From the "vagrant" command, select the virtual machine image that you want to launch.
Installing KUSANAGI 9 for Vagrant Box
To use KUSANAGI 9, follow these steps. Start the command prompt and execute the following commands. (for CentOS Stream 9).
mkdir kusanagi (create a directory for the Vagrantfile.)cd kusanagi(go to the directory you created)vagrant init primestrategy/kusanagi9(Vagrantfile作成)
Leave the command prompt running.
If you would like to use another OS, please change step 3 as follows.
CentOS Stream 8:vagrant init primestrategy/kusanagi9-centosstream8
Edit Vagrantfile
Open Vagrantfile in the editor and make the following changes. These settings enable communication between the host OS and guest OS.
1. Uncomment it and add 3 lines.
Before Editing
# config.vm.network "private_network", ip: "192.168.33.10"After Editing
config.vm.network "private_network", ip: "192.168.33.10"
config.vm.provider "virtualbox" do |vb|
  vb.customize ["modifyvm", :id, "--memory", "1024"]
end
*The above "1024" is the value when setting the memory to 1GB. Please check the memory capacity of your computer and set the appropriate value (e.g., "4096" for 4 GB).
2. When you have finished editing, save and close Vagrantfile.
Start the Virtual Machine and Prepare for Initial Setup
Launching the Virtual Machine
Run "vagrant up" in the command prompt that you previously started. If that doesn't work, please make sure that the directory where you created the Vagrantfile earlier is the current directory.
Logging In to the Virtual Machine
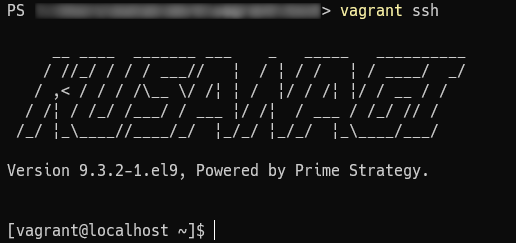
Vagrant provides a command to log into your virtual machine. You can log into your virtual machine by typing "vagrant ssh".
If you want to log in using an SSH client on Windows, please refer to the following document.
Log in to KUSANAGI 9 with Windows "ssh"
The hostname is the one set in Vagrantfile (in the example above, "192.168.33.10"), the username is "vagrant", and the password is "vagrant".
If the log-in is successful, you will see the following screen.

Switching to the "root" User
To switch to the "root" user, enter the following.
$ sudo su -Confirm that you have switched to the "root" user.
[root@<hostname> ~]#If it ends with #, the switch has been made to the "root" user.
For further steps, please follow the instructions below.
If you are using KUSANAGI 9 for Vagrant, please refer to the following link.
KUSANAGI 9 Quick Start
- In KUSANAGI 9 for Vagrant, kusanagi commands can be used even by Vagrant users.
How to Access the Website (Guest Os)
After following the above steps for "kusanagi provision", add the following line in the "hosts" file of the host OS (Windows), you can access the KUSANAGI site built on the guest OS from the host OS (Windows) web browser.
Example
IP address of "private_network" set in Vagrantfile: 192.168.33.10
FQDN name specified during "kusanagi provision": kusanagi9-for-vagrant-test.co.jp
192.168.33.10 kusanagi9-for-vagrant-test.co.jp