
Getting WordPress Running
Have you set up a virtual machine with KUSANAGI 9 installed?
Let's set up KUSANAGI 9 and get WordPress running!
Logging In to the Virtual Machine
First, log in to the virtual machine.
If Linux, use the "ssh" command to log in to the virtual machine.
If Windows, please click below.
Log In to KUSANAGI 9 with Windows "ssh"
KUSANAGI 9 Initial Configuration
Once you have logged in to the virtual machine, set the initial configurations.
Use the dedicated "KUSANAGI Commands" for the initial configuration.
"KUSANAGI Commands" are built in commands that can be used for initial configuration, web server switching, cache control, etc.
For details, please refer to the list of "KUSANAGI Commands" below.
KUSANAGI 9 Commands
The following steps explain how to perform the initial configuration of KUSANAGI 9 and how to get WordPress ready for provisioning.
Before the Initial Configuration
Before setting the initial configurations using "KUSANAGI commands", first update the OS (*) and KUSANAGI system.
*The following is a list of operating systems that can be used with KUSANAGI 9. The OS will vary depending on the cloud vendor.
- CentOS Stream 9
- AlmaLinux OS 8
- AlmaLinux OS 9
If the user logging in to the virtual machine is not the "root" user, switch to the "root" user by entering the following.
If the user logging in to the virtual machine is the "root" user, this step will not be necessary.
# sudo su -Enter the following to start the upgrade.
# dnf upgrade -yOnce the upgrade is complete, type the following to reboot the server:
# rebootAfter rebooting, the connection will be lost, so log in again, switch to the root user, and start the initial configuration.
Setting the Initial Configuration
Set the password for the Linux user and database user in the virtual machine, and configure the middleware that you want to use.
# kusanagi init --passwd "password" --nophrase --dbrootpass "password" --basicauthuser "username" --basicauthpass "password" --nginx131 --php83 --mariadb10.6There are two types of options: required and optional.
All options are explained below.
Note: Generating the Host Key File for TLS Takes Time!
In this configuration process, a TLS session ticket file and a parameter file used in the DH (Diffie-Hellman) key exchange will be generated.
These files are generated under "/etc/opt/kusanagi/ssl" and will not be generated again once they have already been generated.
Please note that depending on the performance of your machine, this file generation may take several minutes.
Required Options
Setting the Password for "kusanagi" User
Specify the "--passwd" option to set the password for the "kusanagi" user.
Specifying "--passwd" is mandatory and cannot be omitted.
The value specified for "--passwd" will be the password for the "kusanagi" user.
--passwd "password"Setting the Passphrase for the SSH User Key of the "kusanagi" User
Specify the "--phrase" or "--nophrase" options to set the passphrase for the SSH user key of the "kusanagi" user.
Specifying either "--phrase" or "--nophrase" is mandatory and cannot be omitted.
The value specified for "--phrase" will be set as the passphrase for the "kusanagi" user's SSH user key.
The passphrase must be a string of at least 5 characters.
If "--nophrase" is specified, an empty string will be set as the passphrase for the "kusanagi" user's SSH user key (no value needs to be set).
--phrase "passphrase"--nophraseSetting the MariaDB "root" Password
Specify the "--dbrootpass" option to set the MariaDB "root" password.
"--dbrootpass" is mandatory and cannot be omitted.
The value specified for "--dbrootpass" will be set as the "root" password for MariaDB.
This password must be a string of 8 or more characters, consisting of uppercase and lowercase letters, numbers, or ".!#%+_-".
--dbrootpass "password"Optional Options
The following options can be selected.
If you have no particular preference regarding middleware settings, you can skip to "Completing Initial Setup".
Basic Authentication User Name
--basicauthuser "username"Specify the basic authentication user name.
The basic authentication user name must be a string of 3 to 16 characters consisting of a combination of "A to Z, a to z, 0 to 9, ., _, -, @".
If omitted, kusanagi will be set.
Basic Authentication Password
--basicauthpass "password"Specify the basic authentication password for the basic authentication user.
For the basic authentication password, please specify a string of 8 or more characters consisting of a combination of "A to Z, a to z, 0 to 9, ., !, #, %, +, _, -".
If omitted, password specified in --passwd will be set.
Selecting the Web Server
Choose which web server to start up, "nginx" or "httpd" (Apache). When specified, the following web servers will start up (some examples below).
If omitted, "--nginx131" (NGINX 1.31) will be set.
--nginx131Selecting PHP
Choose which PHP version to be used. When specified, the following PHP will be used (some examples below).
If omitted, "--php83" (PHP 8.3) will be set.
--php83Selecting MariaDB (MySQL)
Choose which version of MariaDB (MySQL) to be used. When specified, the following MariaDB will start up (some examples below).
If omitted, "--mariadb10.6" (MariaDB 10.6) will be set.
--mariadb10.6Completing Initial Configuration
Run the command with the options set.
If the message "init completed." is displayed as shown below, the initial configuration is complete.
# kusanagi init --passwd "password" --nophrase --dbrootpass "password" --basicauthuser "username" --basicauthpass "password" --nginx131 --php83 --mariadb10.6

(omitted)

init completed.
WordPress is now ready for provisioning.
Next, provisioning (deploying) WordPress.
If you would like to know more about the initial setting commands and options, please refer to the "kusanagi init" page.
init - KUSANAGI
Provisioning WordPress
As with the initial configurations, the dedicated "KUSANAGI Commands" are used for provisioning.
First, create a profile for using WordPress with KUSANAGI commands.
This will provision the web server configuration file, MariaDB (MySQL) database, document root, and so on.
Click below for an explanation of profiles.
KUSANAGI 9 Profile
*Quick Start will provision WordPress, but KUSANAGI 9 can also provision LAMP, FCGI, Movable Type, and Drupal.
Before Provisioning
If the user logging into the virtual machine is not the "root" user, switch to the "root" user by entering the following.
This step is not necessary if the user logging into the virtual machine is the root user, or if the machine has been running as the root user continuously from the initial setup.
# sudo su -Provisioning
To provision KUSANAGI 9, use the following command.
# kusanagi provision [options] "any profile name"A directory with "any profile name" as shown above will be created under "/home/kusanagi/".
A document root will be created in this directory and the necessary data will be stored here.
Required Options
Choosing a Provisioning Type
You can choose which CMS to provision by specifying it as an option.
Since we are provisioning WordPress in this quick start, we specify "--wp".
Specifying CMS to provision is mandatory and cannot be omitted.
--wpSetting the Host Name
Specify the "--fqdn" option to configure the host name (FQDN) that will be used in the profile created.
Specifying "--fqdn" is mandatory and cannot be omitted.
The value specified for "--fqdn" will be set as the host name.
--fqdn www.example.com* "http://" and "/" at the end is not required.
Setting Up the SSL Certificate (Let’s Encrypt)
-Specify the "--email" option to issue a Let's Encrypt SSL certificate (*) corresponding to the host name specified in "--fqdn".
If you don't need an SSL certificate, specify the "--noemail" option.
Either "--email" or "--noemail" must be specified and cannot be omitted.
Use the value specified for "--email" to request an SSL certificate from Let's Encrypt.
If "--noemail" is specified, Let's Encrypt will not issue an SSL certificate (no value will be required).
--email kusanagi@example.com--noemail* About SSL Certificates from Let's Encrypt
- Let’s Encrypt is a certificate authority (CA) that issues SSL/TLS server certificates for free.
For more information, please visit the official website below.
Let's Encrypt
By specifying your e-mail address after "--email", you agree to use Let's Encrypt. - Let’s Encrypt is an SSL/TLS server certificate with domain authentication.
Due to the authentication mechanism, to use Let’s Encrypt it is necessary that the FQDN obtained can be resolved, and that "http" access not be required for authentication.
In addition, there are restrictions on the use of Let's Encrypt on a domain-by-domain basis, and FQDNs granted by the cloud when creating a virtual machine cannot be used. - If you specify "--noemail" and do not obtain an SSL certificate, you can later obtain a Let’s Encrypt SSL certificate using the "kusanagi ssl" command after provisioning is complete.
For more information, see the "kusanagi ssl" document below.
ssl - KUSANAGI
Setting the Database Name
Specify the "--dbname" option to set the database name.
The value specified with "--dbname" will be set as the database name.
If omitted,
--dbname kusanagi_dbSetting the Database User Name
Specify the "--dbuser" option to set the user name for the database created above.
"--dbuser" is mandatory and cannot be omitted.
The value specified with "--dbuser" will be set as the database user name.
--dbuser kusanagi_dbSetting the Password for the Database User
Specify the "--dbpass" option to set the password for the database user created above.
"--dbpass" is mandatory and cannot be omitted.
The value specified with "--dbpass" will be set as the password for the database user.
--dbpass "password"WordPress Installation Options
From KUSANAGI version 9.5.2-1, it is now possible to specify the WordPress install option during provisioning, so that WordPress can be installed at the same time as the provisioning process.
Previously, there was a time lag between provisioning and WordPress installation, during which a third party could install WordPress and take over the server.
By specifying this option, the time lag between provisioning and WordPress installation is reduced, and a third party can no longer install WordPress. If you want to install WordPress, it is recommended to specify this option.
Email address of WordPress admin user
To set the email address of the WordPress admin user, specify the --adminemail option.
Specifying --adminemail is required if you install WordPress at the time of provisioning.
The value specified in --adminemail is set as the email address of the WordPress admin user.
--adminemail kusanagi@example.com
The --adminemail option determines whether or not WordPress is installed at provisioning.
Therefore, if you specify the following WordPress installation options but do not specify the --adminemail option, an error will occur.
On the contrary, if --adminemail is specified and the following WordPress installation options are not specified, the default value is set.
WordPress Title
To set the title of WordPress, specify the --title option.
If --title is omitted, the title of WordPress is "Welcome to KUSANAGI".
The value specified by --title is set as the title of WordPress.
--title "Title of WordPress".
WordPress admin user name
To set the WordPress administrator user name, specify --adminuser option.
If --adminuser is omitted, the WordPress administrator user name is the same as the value specified in --adminemail.
The value specified with --adminuser is set as the WordPress admin user name.
--adminuser admin_user
Password for WordPress admin user
To set a password for WordPress admin user, specify --adminpass option.
If --adminpass is omitted, the password for the WordPress admin user is automatically generated and displayed on the screen.
If you omit it, be sure to write down the password displayed on the screen. It cannot be displayed again.
--adminpass Sets the value specified by --adminpass as the password for the WordPress admin user.
--adminpass "password"
Complete Provisioning
Run the command with the options set.
Provisioning is complete when you see the message "provision completed." as shown below.
# kusanagi provision --wp --fqdn www.example.com --email kusanagi@example.com --adminemail kusanagi@example.com "any profile name"

(omitted)

Admin password: (auto-generated password)
Success: WordPress installed successfully.
Generated dbname: (auto-generated DB name)
Generated dbuser: (auto-generated DB user name)
Generated dbpass: (auto-generated password)
Provisioning of "any profile name" completed. Access www.example.com and install wp.
provison completed.
WordPress provisioning is now complete.
The next step varies depending on whether or not you are installing WordPress with the --adminemail option.
- If --adminemail option is specified
Since you have already installed WordPress, access the following URL to display the WordPress administration page and proceed to the "Logging In To the WP Admin Dashboard" step.https://(specified FQDN)/wp-admin/ - If you did not specify the --adminemail option
WordPress is not yet installed, so please continue with the "Installing WordPress" step below.
To learn more about provisioning commands and options, please refer to the "kusanagi provision" page below.
provision - KUSANAGI
Installing WordPress
WordPress can be installed from your browser, so first launch your browser.
Access the host name (FQDN) that was specified during provisioning.
In KUSANAGI 8, it was necessary to set up a database connection, but in KUSANAGI 9, it is no longer necessary.
The database connection settings will be configured automatically.
Entering the Required Information
After accessing the host name (FQDN), you will be prompted to enter the required information.
Enter the basic information of your WordPress site, the site administrator's user information, and so on.

(a) Enter the following.
| Site Title | Any website title |
| Username | WordPress admin username |
| Password | Password to log in to the WP Admin Dashboard |
| Your Email | The email address to receive notifications from WordPress |
| Search engine visibility | Whether or not to allow search engines to index this site |
(b) After entering all the required information, click “Install WordPress”.
Checking Results
If the installation was successful, you will see the following screen.
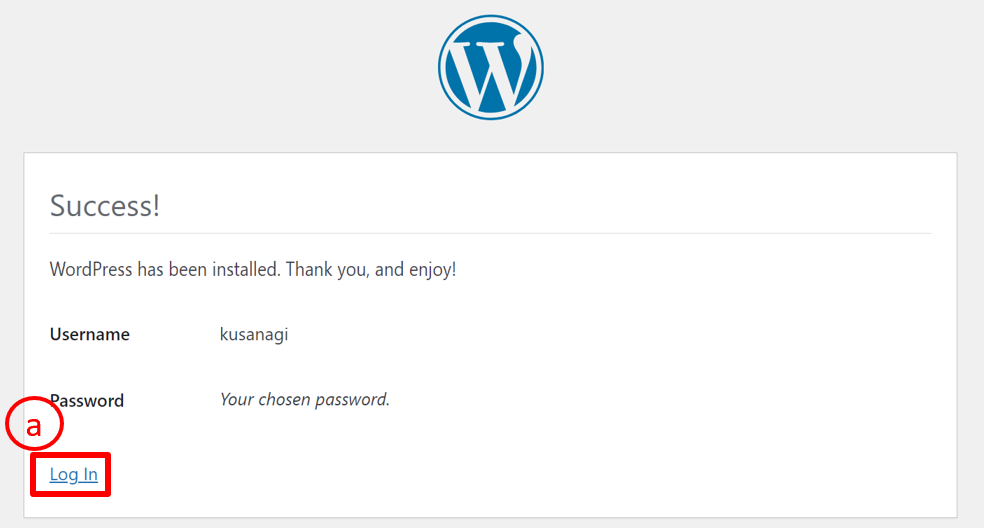
(a) When the “Success!” screen is displayed, click the “Log In” link.
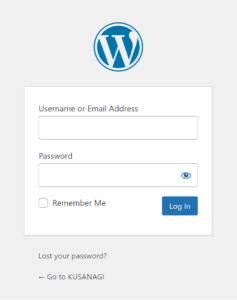
Logging In to the WP Admin Dashboard
When the login screen appears, enter the user name and password that were entered in the required information section to log in to the WP Admin Dashboard.
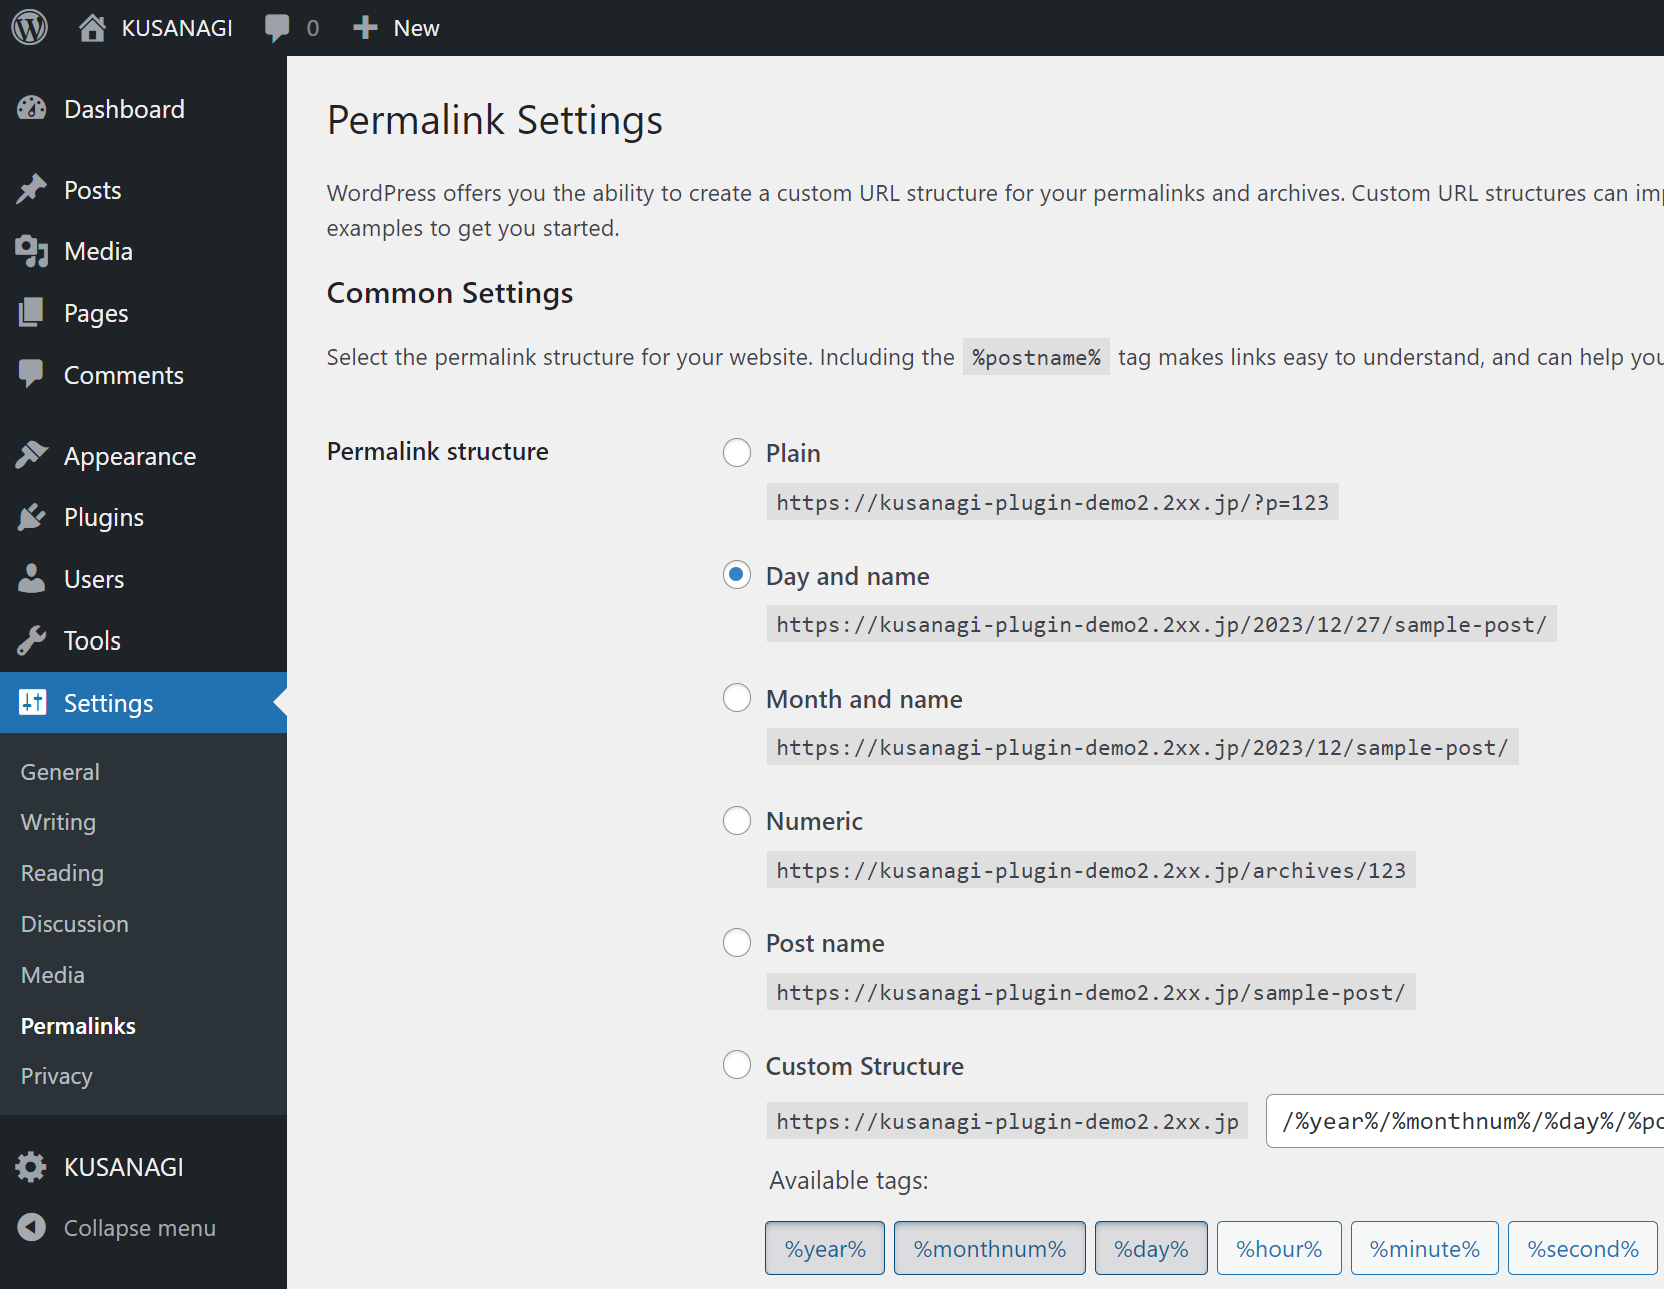
Checking the Permalink Settings
Click "Permalink" in the sub-menu of "Settings" and then check "Common Settings" -> "Permalink Structure" in the "Permalink Settings".
Change the settings and customize the URL as necessary.
The "KUSANAGI" menu allows you to configure settings related to KUSANAGI-specific acceleration.
Please see the "KUSANAGI-Specific Plug-ins" page for features and settings.
Once confirmation is complete, click on the site title at the top left of the WP Admin Dashboard (in the example, the part that says "KUSANAGI" next to the home symbol) to display the top page.
Checking the Top Page Screen
Installation is complete if the top page is displayed as shown below (the content will vary somewhat depending on the theme).

Congratulations! You can now run WordPress.
Now, feel free to customize your site and build it to your preference.
For more information on "KUSANAGI Commands", please click below.
KUSANAGI 9 Commands

