
KUSANAGI 9 for Oracle Cloud is a free virtual machine image that runs at high-speed WordPress and other CMSs for Oracle Cloud.
The free version of KUSANAGI can be upgraded to the "Business Edition" for business use, or to the "Premium Edition", a top-of-the-line edition equipped with a web acceleration engine.
For more information on upgrades, please refer to the following link.
KUSANAGI Editions
Recommended environment: 4GB memory or more.
Introduction
This explanation starts with the assumption that the user has acquired an Oracle account and an Oracle Cloud account and has access to the Oracle Cloud login.
Cloud Sign In
On this page we explain the following selections;
- Product: KUSANAGI 9 for Oracle Cloud (AlmaLinux OS 8)
If using another OS, explanations are provided in the notes.
How to use KUSANAGI 9 for Oracle Cloud
- Select a Virtual Machine Image from Marketplace
- Create a Virtual Machine
- Add Ingress Rules
- Log In to the Virtual Machine and Prepare for Initial Setup
Select a Virtual Machine Image from Marketplace
From the Oracle Cloud Marketplace, select the virtual machine image you want to launch.
Selecting the KUSANAGI 9 Virtual Machine Image
KUSANAGI 9 for Oracle Cloud virtual machine images are registered in "Marketplace".
First, we will explain how to select the KUSANAGI 9 for Oracle Cloud virtual machine image from "Marketplace".
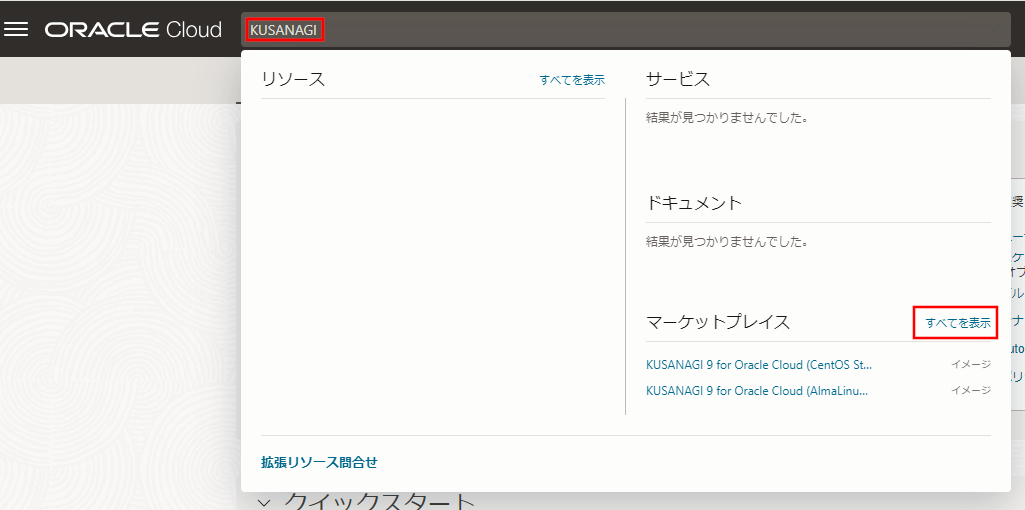
From the Oracle Cloud console screen, enter "KUSANAGI" in the search window at the top, and click "Show All" next to "Marketplace".
Marketplace search results will be displayed. Select "KUSANAGI 9 for Oracle Cloud (AlmaLinux OS 8)" from the list.
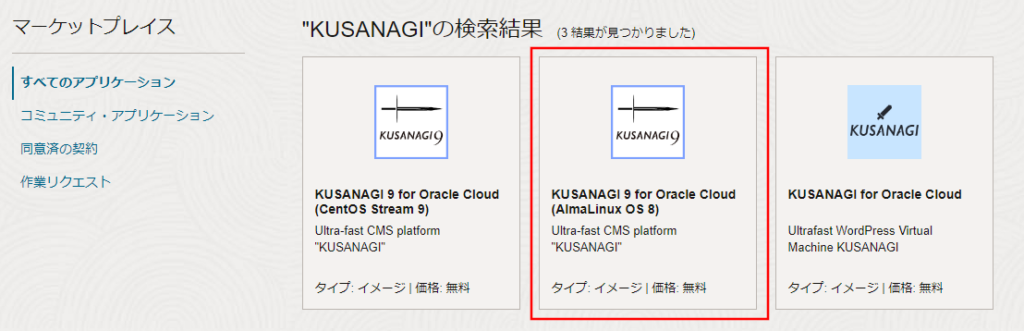
If you would like to use another OS, please see below.
| OS | Product |
|---|---|
| AlmaLinux OS 8 | KUSANAGI 9 for Oracle Cloud (AlmaLinux OS 8) |
| CentOS Stream 9 | KUSANAGI 9 for Oracle Cloud (CentOS Stream 9) |
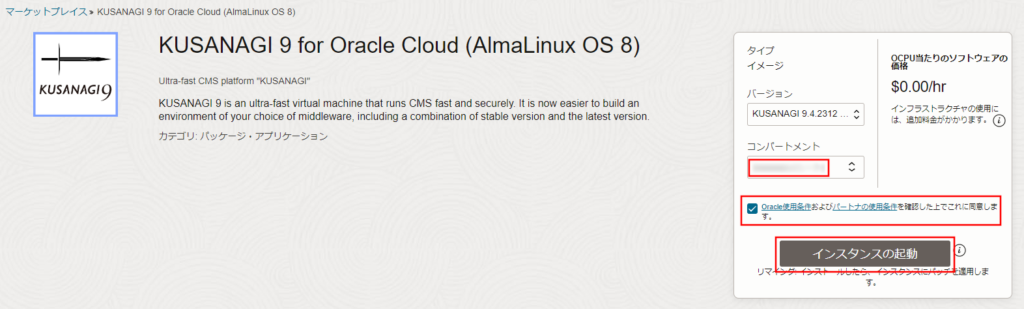
When the product page opens, select a compartment, check the Terms of Use, and click "Start-Up Instance.
Create a Virtual Machine
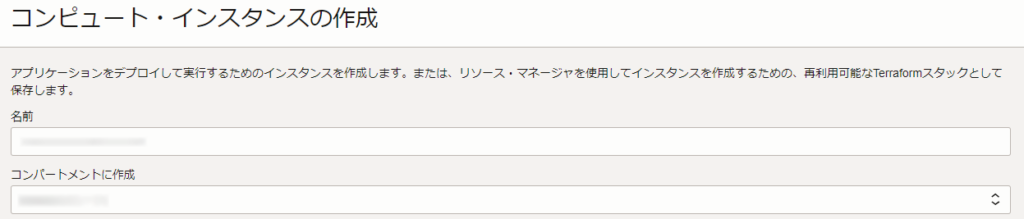
The "Create a Virtual Machine" screen will appear. The following explanation focuses only on vital items, other items not listed here can be set on your own.
General Settings
Please set up any necessary items.
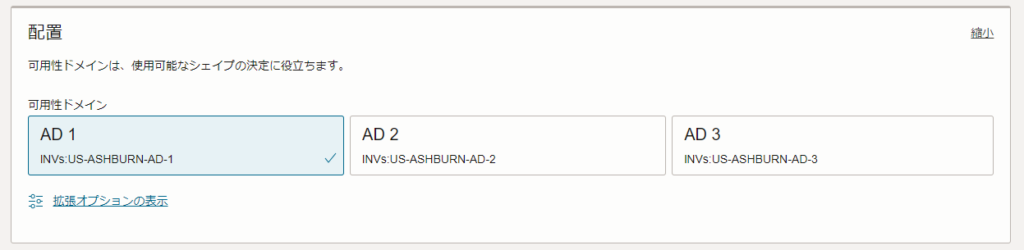
Deployment
Please set up any necessary items.
Security
Please set up any necessary items.

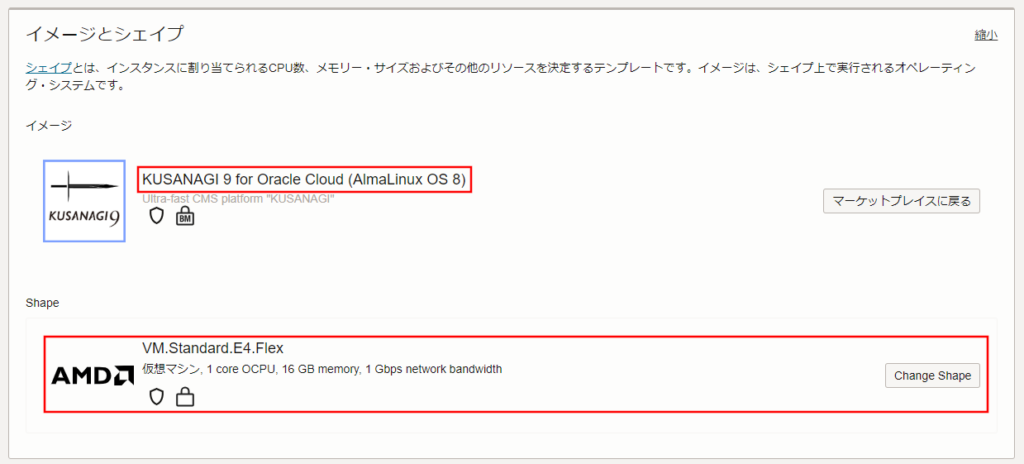
Image and Shape
| Item | Value |
|---|---|
| Image | Please make sure that the image is the one you selected in the marketplace. |
| Shape | Click "Change Shape" and select a shape of your choice. We recommend 4GB or more for KUSANAGI 9 for Oracle Cloud. |
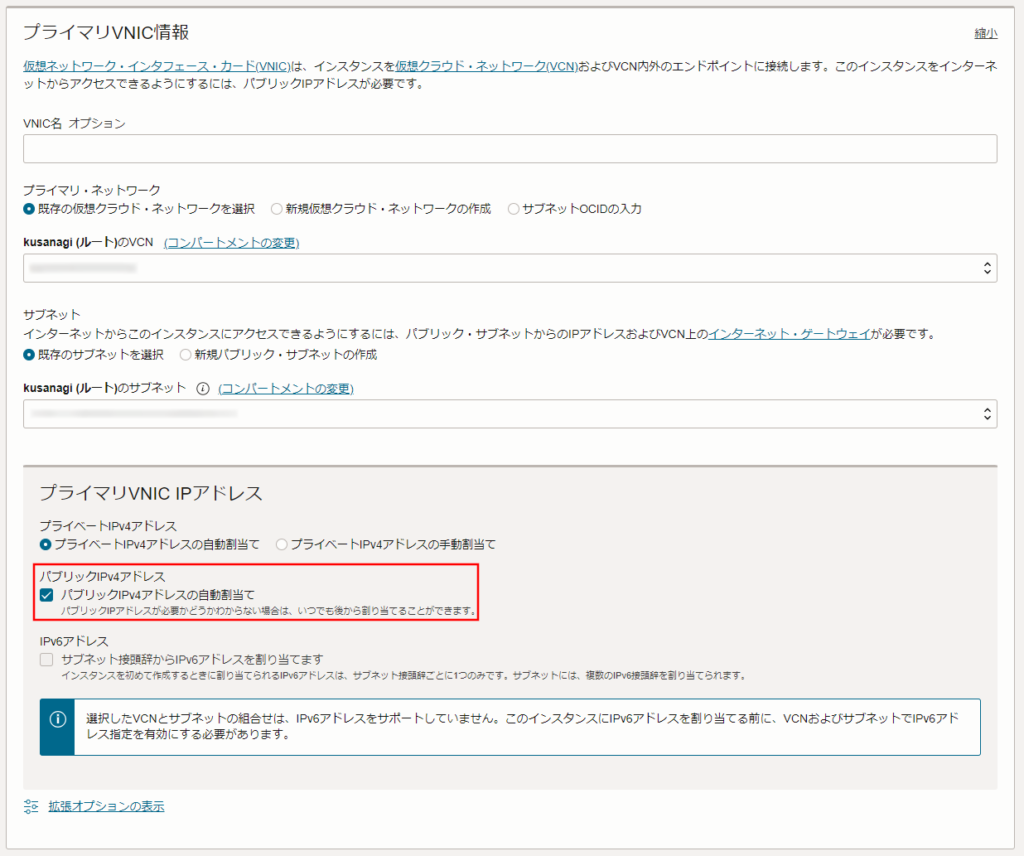
Primary VNIC Information
| Item | Value |
|---|---|
| Public IPv4 address | Check the box for an "Automatic assignment of a public IPv4 address". Note, no external access is possible unless a public IPv4 address is automatically assigned. |
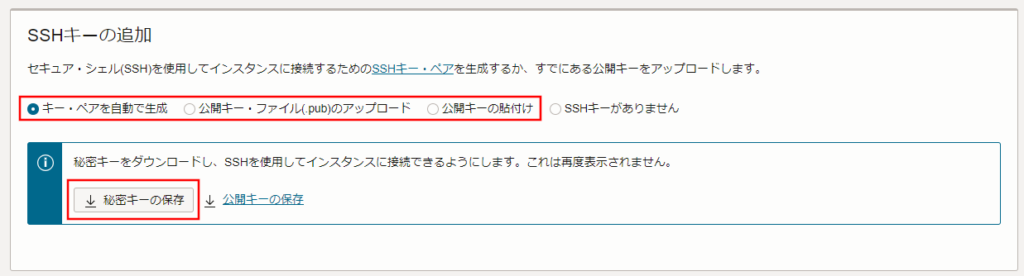
Adding an SSH Key
| Item | Value |
|---|---|
| Adding an SSH Key | Select either "Create key pair automatically", "Upload public key file (pub)" or "Paste public key". If you select "Create Key Pair Automatically," click the "Save Secret Key" button. A private key file will be downloaded, so please keep it in a safe place. For private keys and public keys please refer to the following link. Managing Key Pairs on Linux Instances |
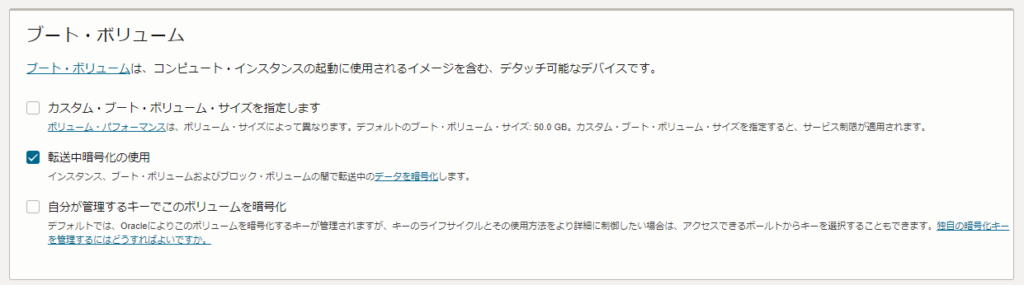
Boot Volume
Please set up any necessary items.
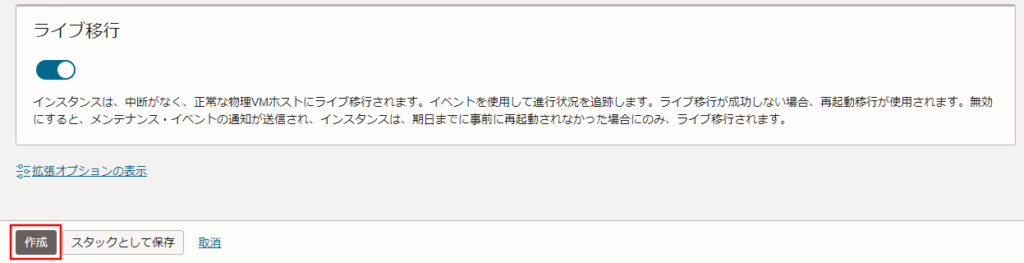
Go Live
Please set up any necessary items. When all entries are complete, click "Create" at the bottom.
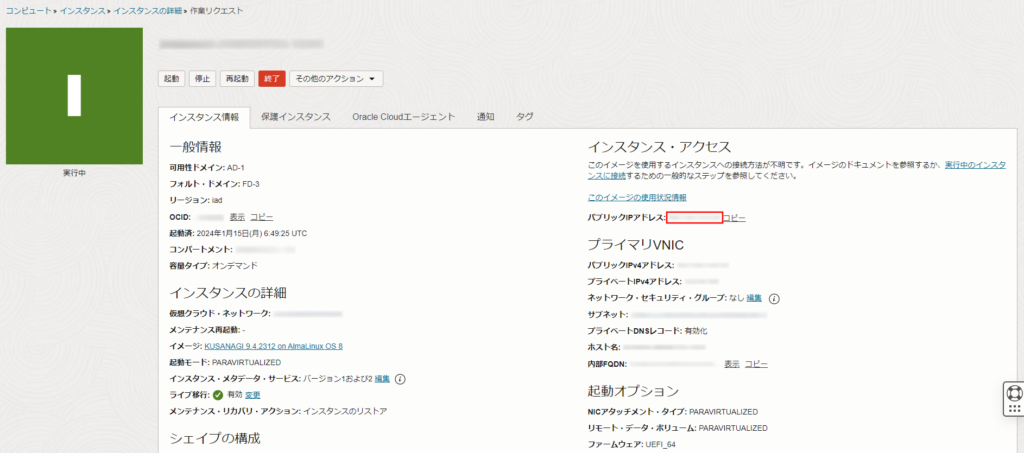
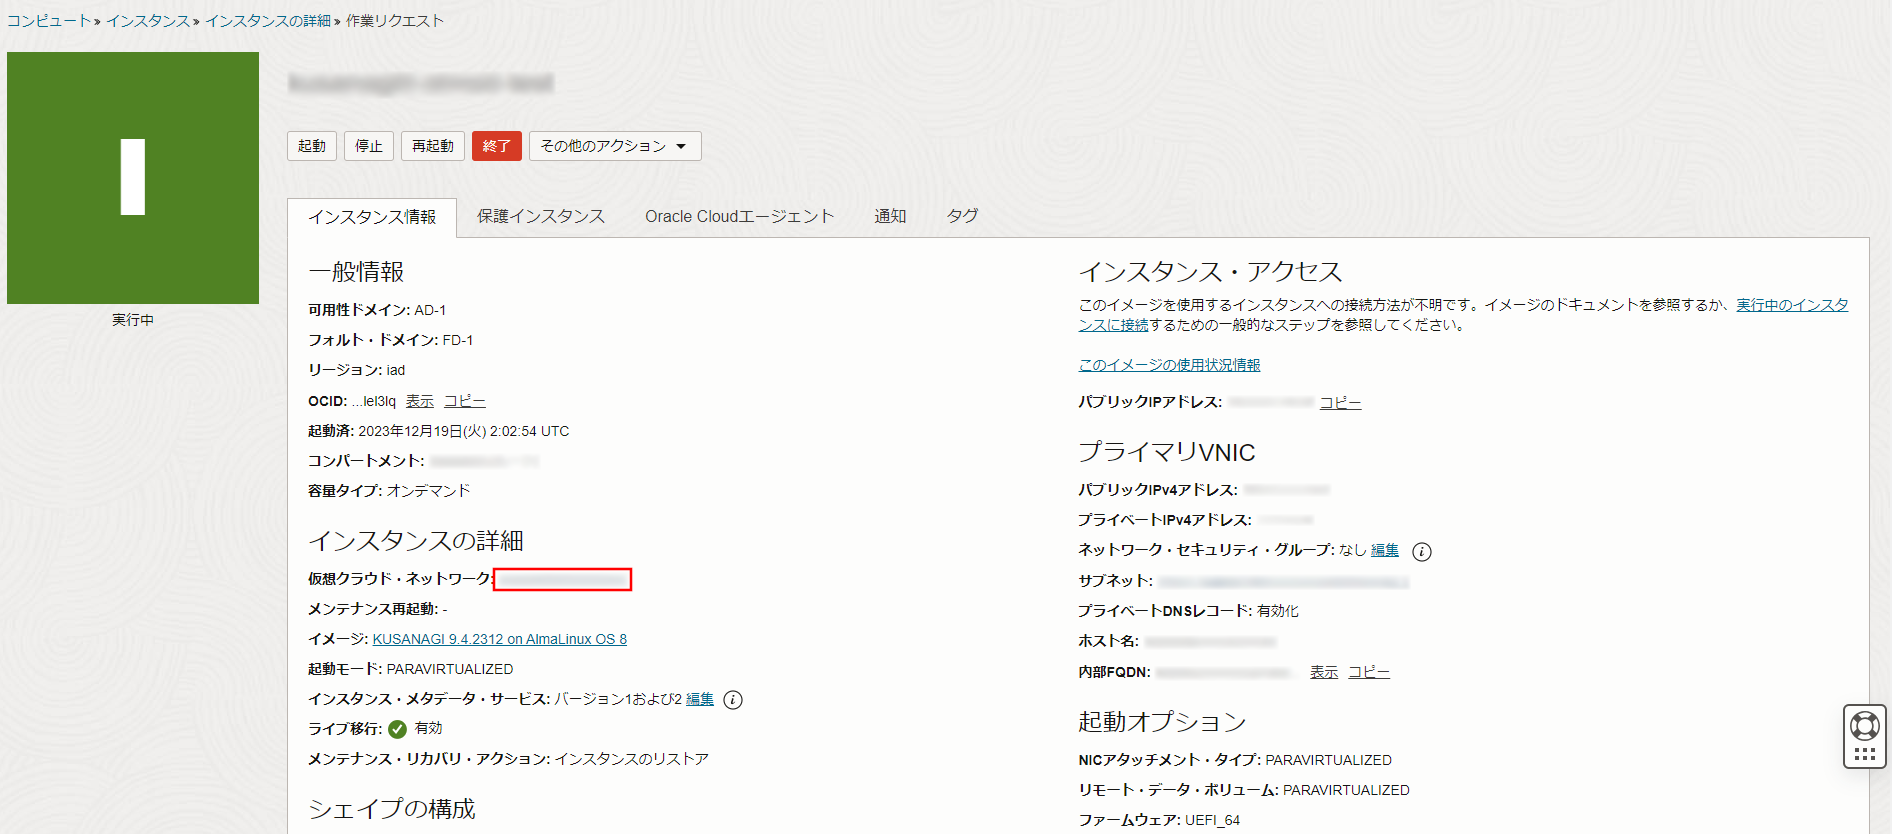
The instance details screen will be displayed, and if the status says "running", this is confirmation that the instance was successfully started up. You will need the external IP address to log in through "ssh" later, so please make a note of the "Public IP address" displayed in the virtual machine details.
Add Ingress Rules
On the Instance screen, click on the Virtual Cloud Network link.
When the Virtual Cloud Network screen appears, select "Security List" from the "Resources" menu.
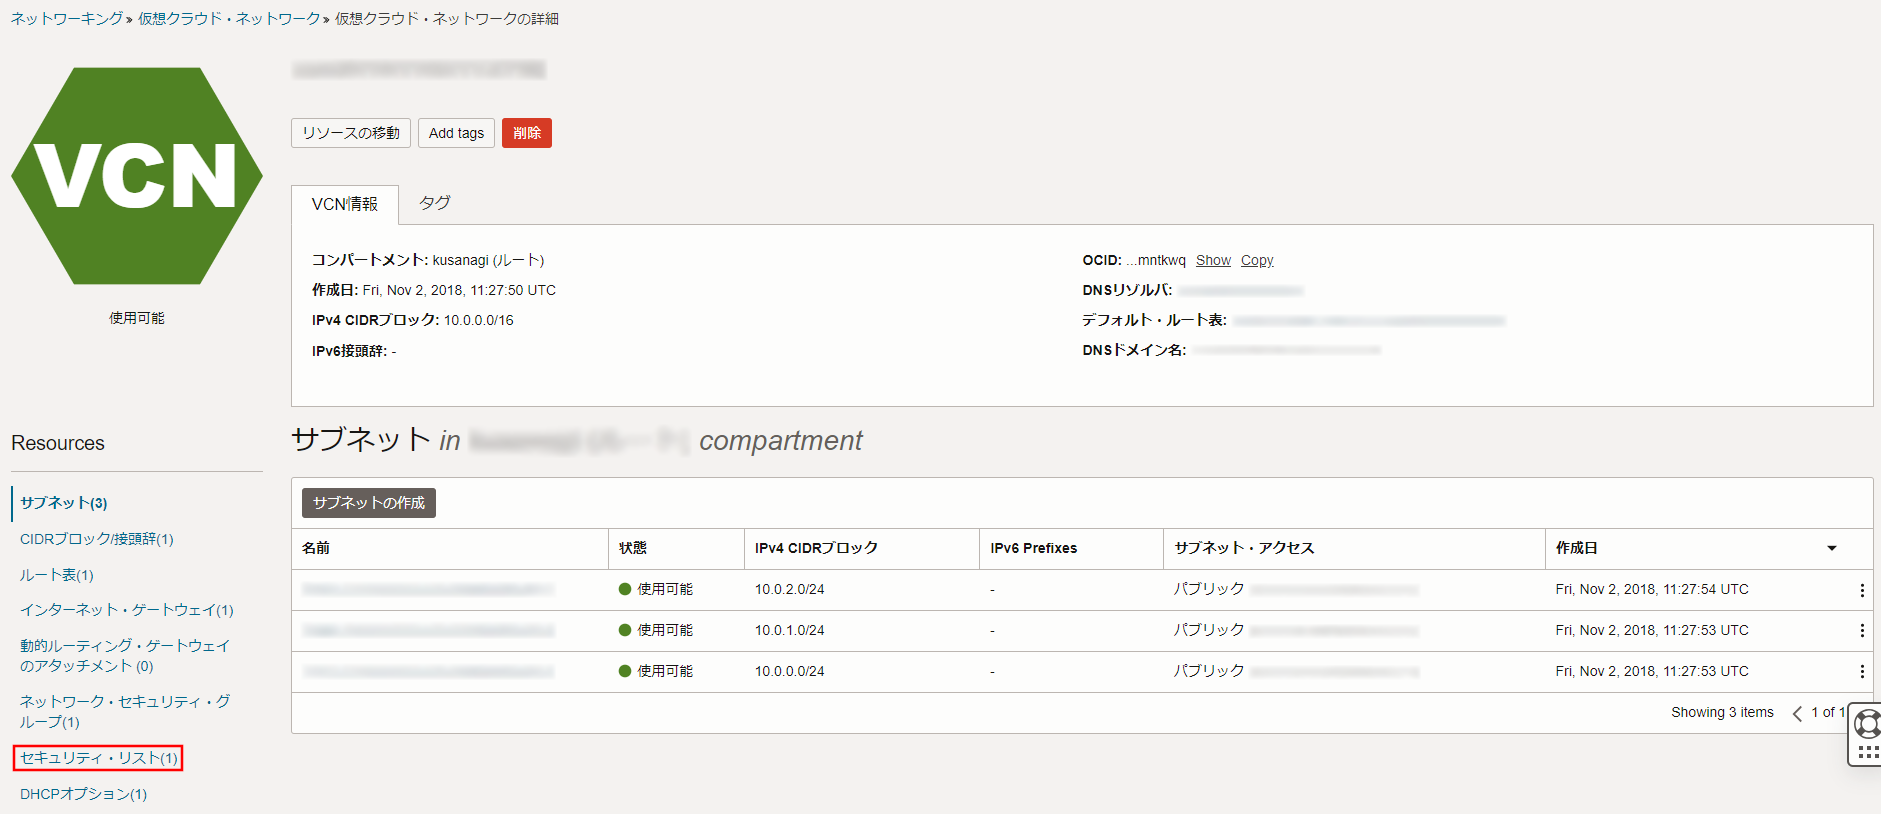
Select an item from the security list that you want to add the rule to.

Click "Add Ingress Rule" on the Security List Details screen.

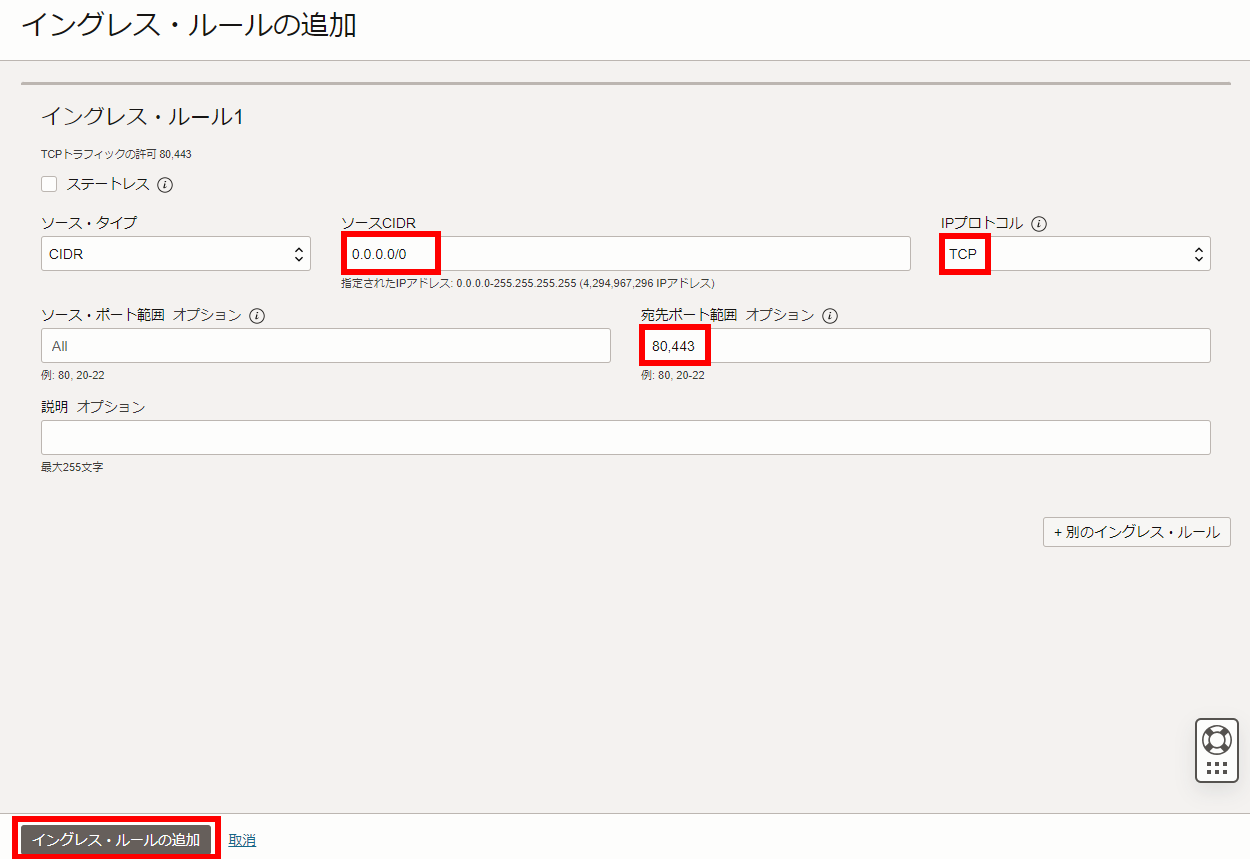
On the "Add Ingress Rule" screen, enter "0.0.0.0/0" for Source CIDR, select "TCP" for IP Protocol, enter "80,443" for Destination Port Range, and then click "Add Ingress Rule" at the bottom.
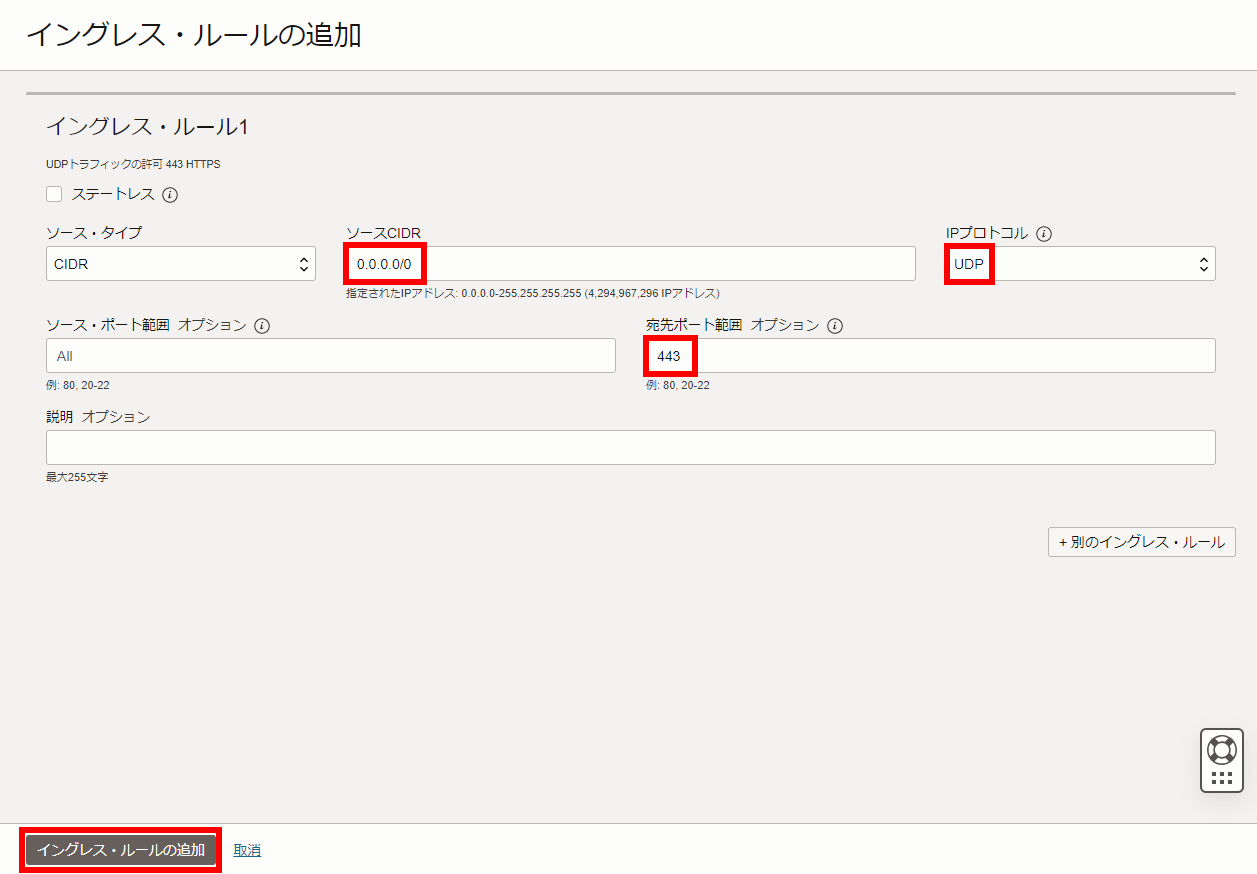
On the "Add Ingress Rule" screen, enter "0.0.0.0/0" for Source CIDR, select "UDP" for IP Protocol, enter "443" for Destination Port Range, and then click "Add Ingress Rule" at the bottom.
Check that the ingress rules have been added on the details of the "Security list".

Log In to the Virtual Machine and Prepare for Initial Setup
The following section describes how to prepare for logging in to the virtual machine and performing the initial setup.
Logging In to the Virtual Machine
Log into the virtual machine using the ssh command.
The information you will need is the public IP address you wrote down and the full path of the private key file you either downloaded at "Create a Virtual Machine" -> "Add SSH Key" or originally had saved.
The user name is "opc".
# ssh opc@(public IP address) -i (full path of private key file)If you want to log in using a password or using an SSH client on Windows, please refer to the link below.
Log in to KUSANAGI 9 with Windows "ssh"
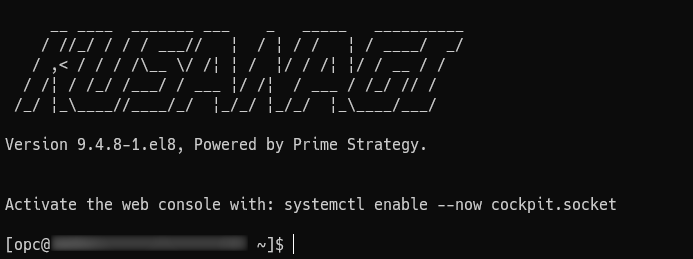
If the log-in is successful, you will see the following screen.
Switching to the "root" User
To switch to the "root" user, enter the following.
$ sudo su -Confirm that you have switched to the "root" user.
[root@<hostname> ~]#If it ends with #, the switch has been made to the "root" user.
For further steps, please follow the links below.
KUSANAGI 9 Quick Start
- Oracle and Oracle Cloud are either registered trademarks or trademarks of Oracle Corporation in the United States and/or other countries.

