
Build a new Always-On WordPress site on KUSANAGI
Let's create a new WordPress site with Always-On SSL on KUSANAGI. This time we will use the free Let's Encrypt.
What is Let's Encrypt?
Let's Encrypt is a free and open certificate authority that distributes SSL/TLS certificates. The distribution/install/update process is automated, decreasing both the cost and effort normally required.
Let’s Encrypt uses domain validation. This means that when validating, you need to make your host name accessible on the WordPress server by Let’s Encrypt. In other words, your host name must be resolvable on the internet when you set up Let’s Encrypt.
This does not cause a problem when setting up a new host name on a DNS server. However, if the server is already running and the host name is also set up, some attention is necessary. You have to change the DNS settings first, and see that that they are in effect on the Internet.
There is a 90 day limit for certificates, so they must be updated every 90 days. If you use KUSANAGI, they get updated automatically.
There is a rate limit of 20 certificates to each registered domain per week. This does not pose a problem for use with your own domain, but it would not make sense for host names automatically generated for virtual machines, like "xxx.xxx.compute.amazonaws.com" for Amazon Web Services (AWS).
(Helpful link) Rate Limits (About the rate limit for Let's Encypt)
Building procedure
We will assume that you have a host name on your domain, and that your DNS settings are done. In this article we will use "xxx.example.com" as a dummy host name, so please replace it appropriately.
Launch KUSANAGI following the procedure for services other than AWS in part 12 "How fast is KUSANAGI, the "1000x speed" WordPress virtual machine?" Continue until "2. KUSANAGI Initialization".
Then provision KUSANAGI, and install WordPress. See the links below.
3. Kusanagi Provisioning
4. Installing WordPress on KUSANAGI
During provisioning, use "xxx.example.com" as your host name with Always-On SSL, and enter your email address twice in the "Let's Encrypt Settings".
When installing WordPress, access your host name through HTTPS by beginning the url like so: "https://xxx.example.com".
After the installation is complete, confirm it by visiting the top page from the browser. For example, on Google Chrome, click the key icon next to the URL box. If it says, "Your connection to this site is private," then SSL is active.(Image1)

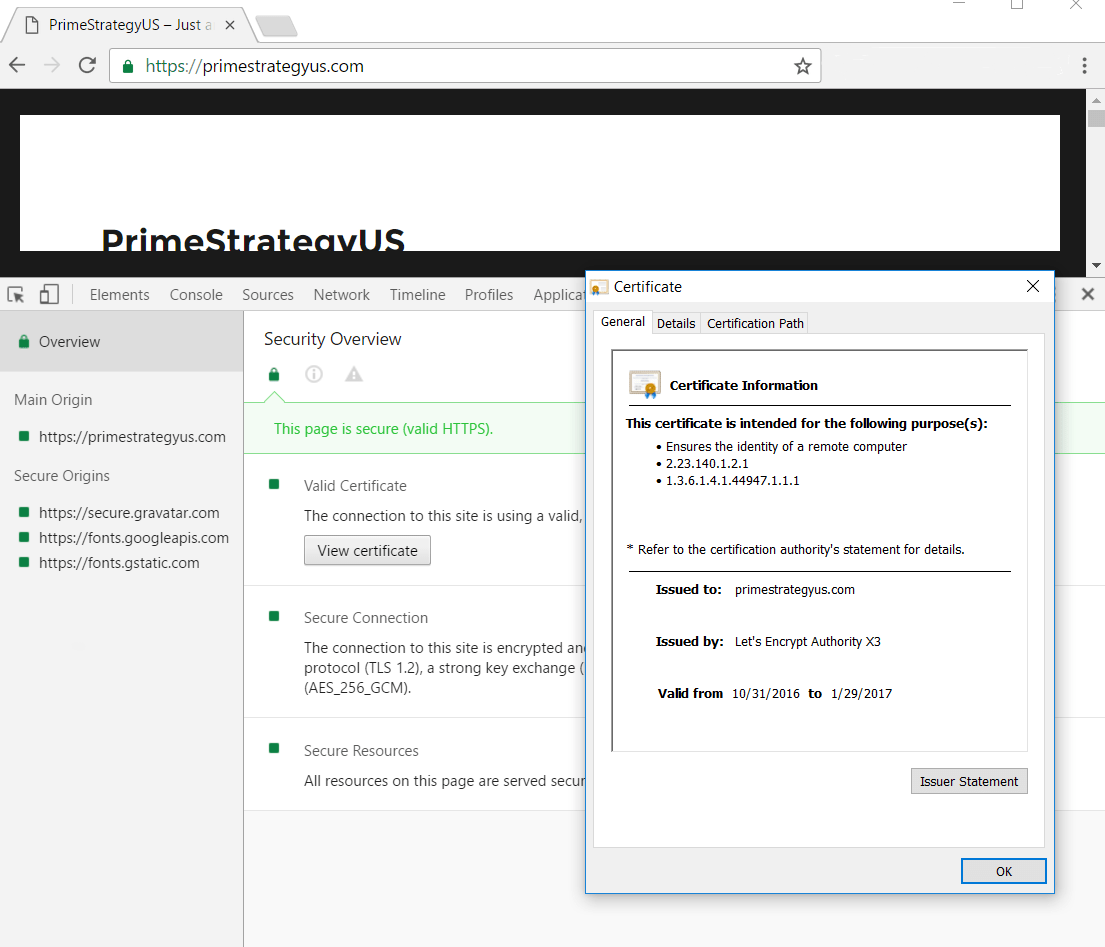
Additionally, if you click the "details" button on the pop-up window, the "Security Overview" developer tool panel will launch. From there, clicking "View certificate" will show the certificate information. If the issuer is Let's Encrypt, then Let's Encrypt is working correctly.(Image2)
Then go to "Network" in the developer tool panel and hit the F5 key to reload. This will show the information for each resource loaded from the webpage.(Image3)
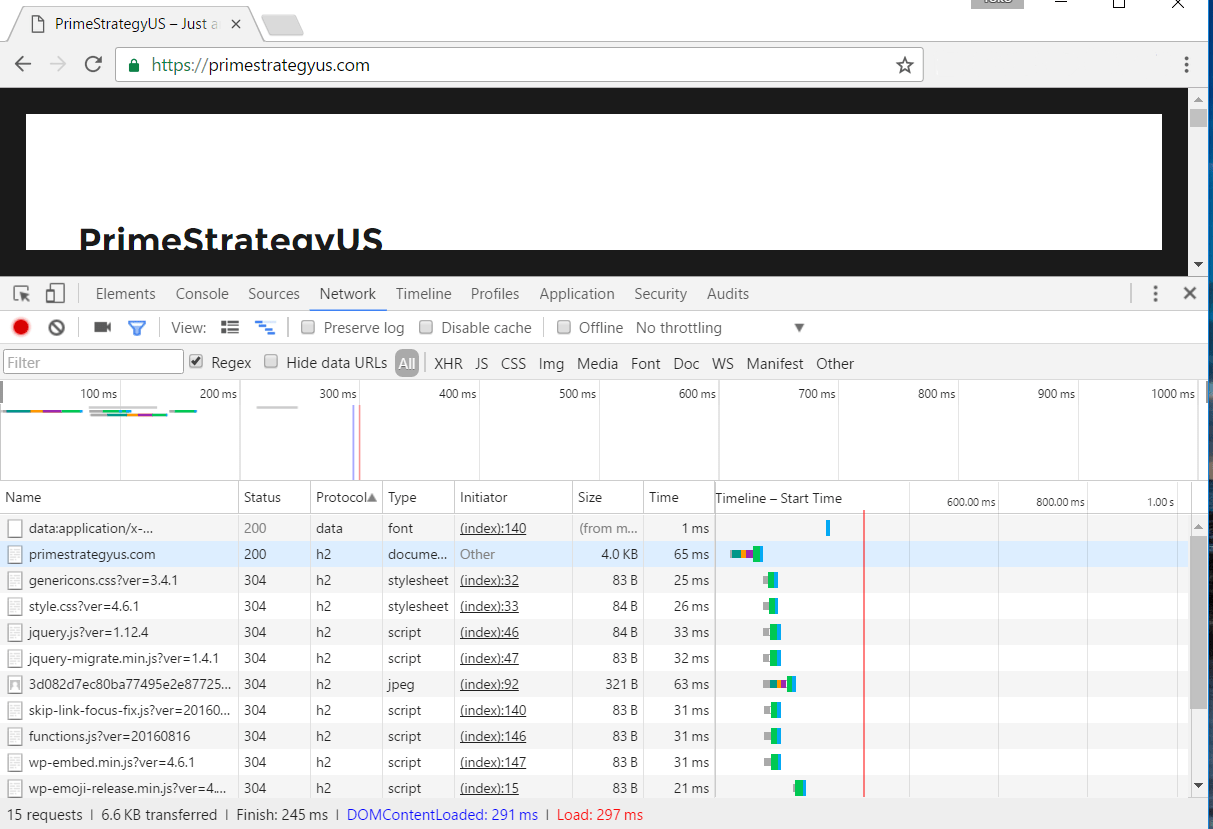
If "h2" shows up in the Protocol field, then the HTTP/2 protocol is active. If you can't see the Protocol field, right clicking the field list will display more items. Also, in the Timeline field on the left, you can see that HTTP/2 parallel downloading was successful.
Finish enabling Always-On SSL
As of now, we have finished enabling HTTP/2 and SSL through Let's Encrypt. However, HTTP access is still possible.
To fix this, we will enable HSTS (HTTP Strict Transport Security), which redirects HTTP requests to HTTPS. Users who have accessed once before will be automatically forced to access through HTTPS. We'll do this at the same time as we activate automatic updating for Let's Encrypt.
Enter the following command from the console as an admin user.
kusanagi ssl --https redirect --hsts weak --auto on
The KUSANAGI command to activate HSTS and Let's Encrypt automatic updates.
We have now completed setting up WordPress with HTTP/2, Let's Encrypt and Always-On SSL.

