
This page explains the web setup procedures for KUSANAGI 9 Business Edition (hereinafter referred to as BE) and Premium Edition (hereinafter referred to as PE).
The following web setup explanation uses the example of BE setup procedures.
The web setup procedures for PE are the same, so if you are setting up the PE, please follow the BE example.
Preparing for Web Setup
External IP address
Make a note of the external IP address of the VM.
Web setup for KUSANAGI 9 BE and PE is accessed using an external IP address, so please set an external IP address in advance.
If you are unable to set an external IP address, please continue to set up by logging in with "ssh" as described in the following link, "KUSANAGI 9 Quick Start".
KUSANAGI 9 Quick Start
"ssh" Login
First, confirm if you are able to login to the running VM using "ssh".
Setting up KUSANAGI 9 requires logging in via "ssh", so it is important to make sure the target VM can be logged in to using "ssh".
Please refer to the following document for the steps to log in to the target VM using "ssh".
Log In to KUSANAGI 9 with Windows "ssh"
FQDN
An FQDN is required to set up KUSANAGI 9.
If you are using AWS, prepare the FQDN by using Route 53 or by using a domain name acquisition service such as Onamae.com (お名前ドットコム).
FQDN - @IT Network Terminology Dictionary(@IT ネットワーク用語事典)
Accessing the Setup Pages
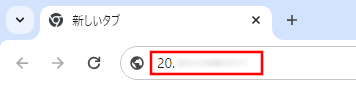
To access the setup pages, use the external IP address you prepared in advance.
Access the external IP address by pasting it into the URL field of a browser such as Chrome.
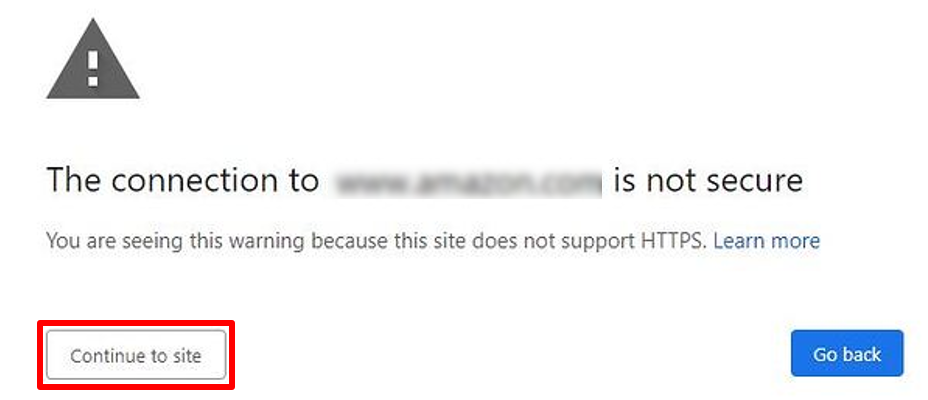
If a message like the one shown below pops up in Chrome (or another browser), just click "Continue to site".
Initialization Screen
An initialization screen may appear when you access the setup pages, in which case, please wait a moment.
If initialization is already complete when you access the setup pages, the next screen displayed will be the KUSANAGI ID screen.

Once initialization is complete, the start screen will appear as shown below, please click “Let’s get started!”

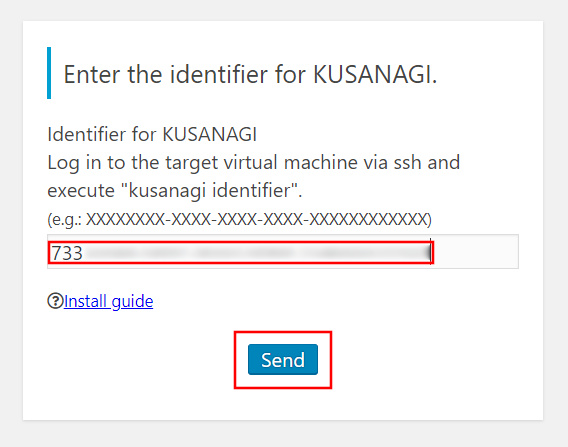
Entering the "KUSANAGI ID"
The KUSANAGI ID screen will appear.
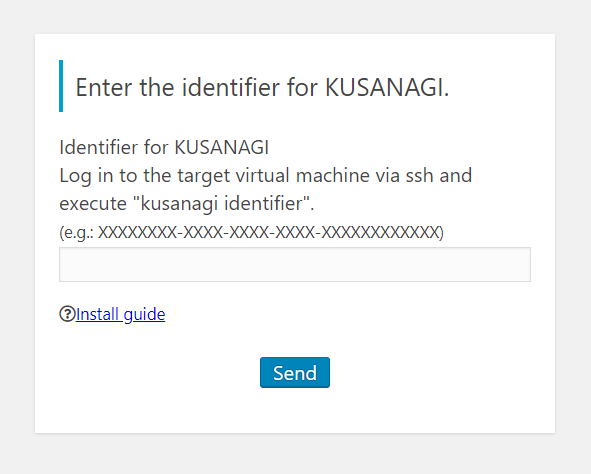
At this point, log in to the target VM via "ssh" using "ssh" client software, etc.
After logging in, run the following command.
kusanagi identifierIf the command execution is successful, the KUSANAGI ID required to set up KUSANAGI 9 BE/PE will appear as shown below.

Paste this KUSANAGI ID into the KUSNAGI ID screen shown earlier and click "Send".
Entering the "FQDN"
The FQDN screen will appear. Enter the FQDN you prepared in advance in both the "FQDN" field and the "Re-type FQDN" field, and click "Send".
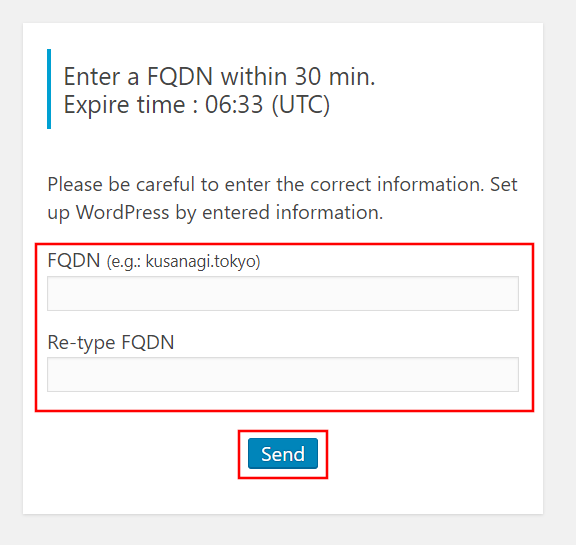
Please note that the FQDN must be entered within 30 minutes of entering the KUSANAGI ID.
If more than 30 minutes pass, you will have to start over and re-enter the KUSANAGI ID.
KUSANAGI 9 BE/PE Setup
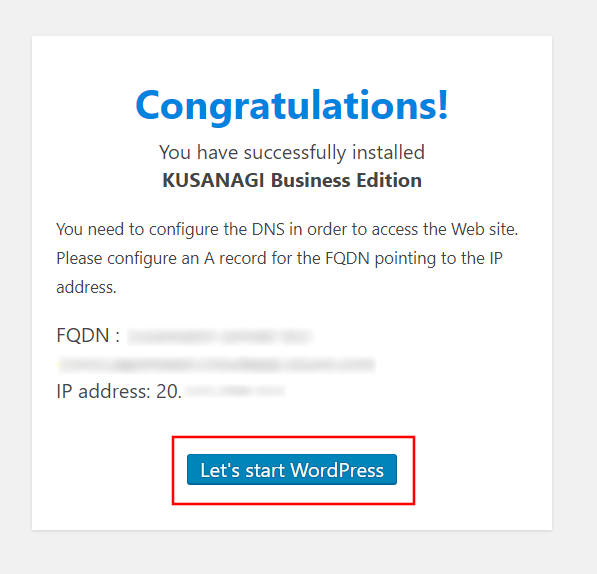
After the FQDN has been entered, KUSANAGI 9 BE/PE setup will begin.

When setup is finished, a "Congratulations!" message will appear, please click "Let's start WordPress".
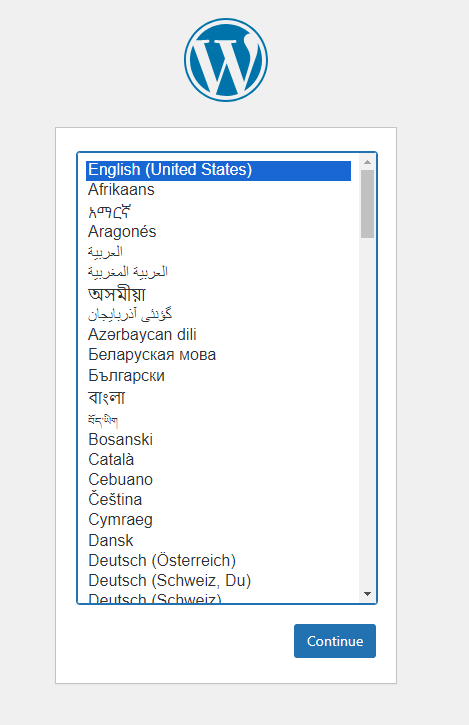
Installing WordPress
When the WordPress installation screen appears, follow the instructions to install WordPress.
This completes the web setup for KUSANAGI 9 BE and PE.

