
Streamlining Secure WordPress Operation
Have you set up a virtual machine with KUSANAGI Security Edition installed?
Let's set up KUSANAGI Security Edition and streamline seure WordPress operation!
Please refer to KUSANAGI Quick Start for the steps to get WordPress up and running.
Logging In to the Virtual Machine
First, log in to the virtual machine.
If Linux, use the "ssh" command to log in to the virtual machine.
If Windows, please click below.
Log In to KUSANAGI 9 with Windows "ssh"
Configure Automatic Secure Operations
Once you have logged in to the virtual machine, set the initial configurations.
Use the dedicated "KUSANAGI Commands" for the configuration.
In addition to "KUSANAGI Commands", there are built in commands that can be used for secure operations.
For details, please refer to the list of "KUSANAGI Commands" below.
KUSANAGI 9 Commands
Security Edition Commands
If the user logging in to the virtual machine is not the "root" user, switch to the "root" user by entering the following.
If the user logging in to the virtual machine is the "root" user, this step will not be necessary.
# sudo su -Register Virtual Machine to KUSANAGI App
Register your virtual machine to KUSANAGI App.
By registering virtual machines with the KUSANAGI App, you can streamline virtual machine operations, such as receiving auditing and reporting via email.
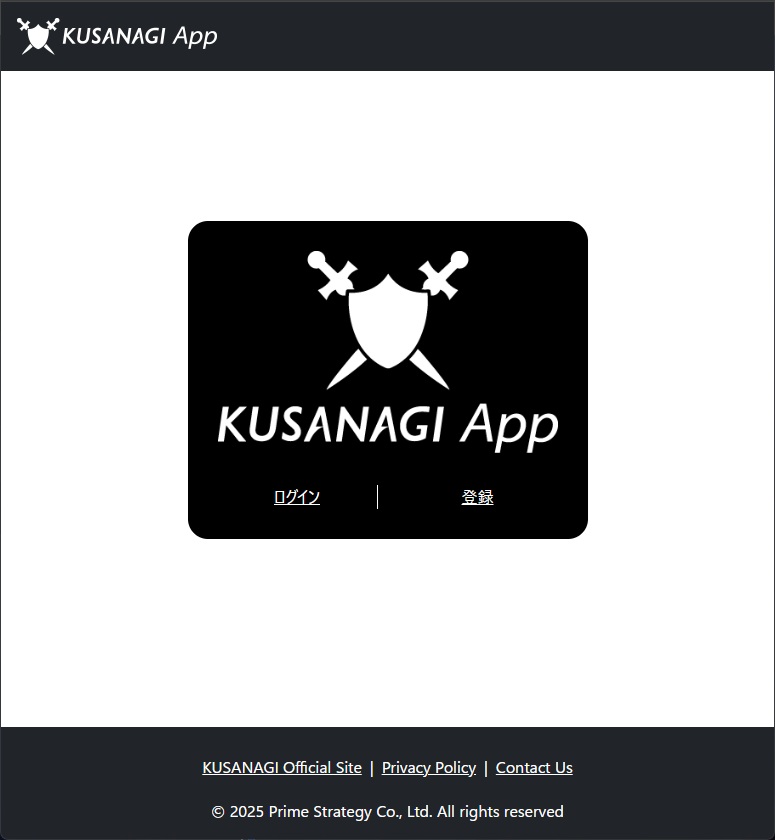
First, create an account on KUSANAGI App. If you have already created one, skip this step.
Create an Account on KUSANAGI App
Access KUSANAGI App and register a new account via “登録”.
You will need the email address you used in this account registration in a later step.
Check If You Can Receive Emails from KUSANAGI App
Access KUSANAGI App and send a test mail from “Mail Test”.
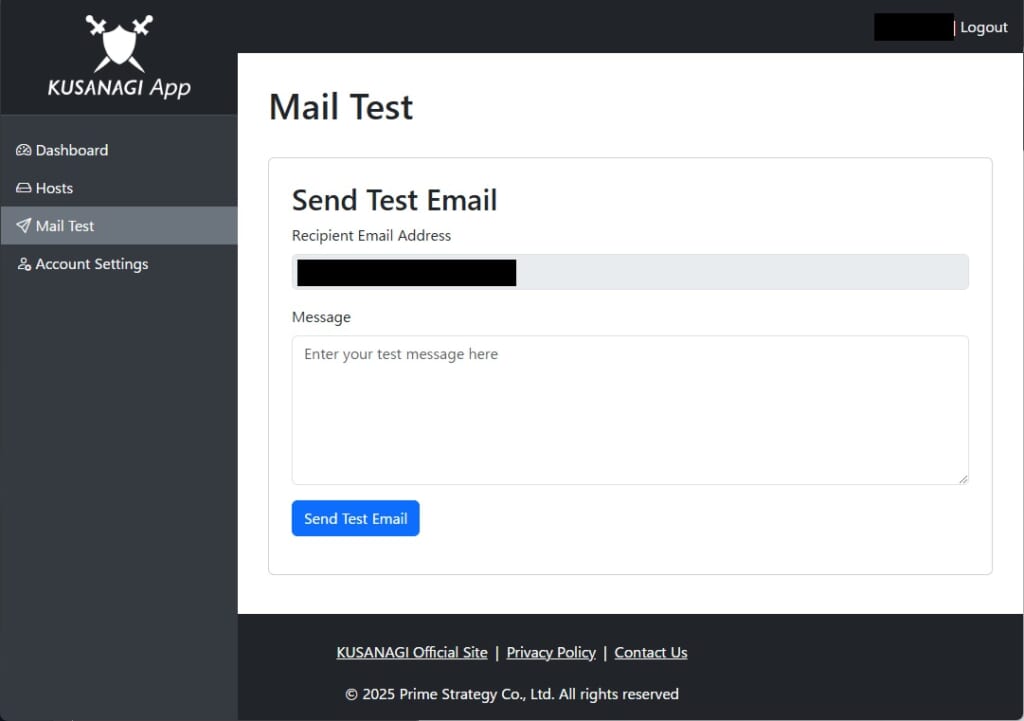
Auditing and reporting emails for virtual machines are sent from app @ prime-strategy.co.jp.
Please make sure that emails from KUSANAGI App are not blocked or sorted as spam.
Generate a Token from KUSANAGI App
Access KUSANAGI App and generate an account token from “Account Settings”.

Select the cloud platform on which the virtual machine is running from “Select Platform” under “Account Token” and press “Generate” to generate the token.
The token displayed on this screen cannot be displayed again. Be sure to make a separate copy of the token and save it.
The token generated here will be needed in a later step.
Tokens are issued for each cloud platform. For example, a token issued for AWS cannot be used for GCP.
There is no upper limit to the number of virtual machines that can be registered with the same token. A token that has been used to register a virtual machine can be reused to register another virtual machine.
Register Virtual Machine to KUSANAGI App
To register a virtual machine, use the following command.
# kusanagi register --account "email address" --token "token"Specify the email address and the token from the above step.
If the message "register completed." is displayed as shown below, the registration of the virtual machine is complete.
# kusanagi register --account "email address" --token "token"

(omitted)

register completed.
If registration is not successful, please check the following:
- Is the email address on your KUSANAGI App account correct?
- Is the platform of the token generated by the KUSANAGI App the same as the platform of the virtual machine you are trying to register?
Then, configure automatic secure operations.
Set up Malware and Virus Scans
Set the time to perform a malware/virus scan once a day. Use the following command to set the time.
As an example, set the scan to be performed at 00:07 (0:07 AM).
# kusanagi antivirus on --daily 00:07Depending on the configuration of WordPress and the number of files, the scan may take some time.
Please examine the time it takes to scan before running the operation.
Also, the IO load on the virtual machine may increase during scanning, so please avoid times when the load on your website increases.
For reference, depending on the environment, 400,000 files or 50 GB will take approximately 25 minutes to search.
If the message "antivirus completed." is displayed as shown below, the setup for malware and virus scans is complete
# kusanagi antivirus on --daily 00:07

(omitted)

antivirus completed.
Set up OS/Middleware Automatic Updates
Set the time to perform OS/Middleware automatic updates once a day. Use the following command to set the time.
As an example, set the updates to be performed at 02:07 (2:07 AM).
# kusanagi autoupdate on --daily 02:07Depending on the number of OS/middleware packages, it may take some time to update.
Please examine the time required for updating before operating the system.
Also, depending on the contents of the automatic updates, the web server (NGINX/Apache HTTPD) and php-fpm may be restarted.
Avoid times when the web server load is high, as the web server session may get temporarily disconnected.
If the message "autoupdate completed." is displayed as shown below, the setup for OS/Middleware automatic updates is complete
# kusanagi autoupdate on --daily 02:07

(omitted)

autoupdate completed.
Set up Analyzer's Autorun
Set the time to perform Analyzer's autorun once a day. Use the following command to set the time.
As an example, set the autorun to be performed at 04:07 (4:07 AM).
# analyzer on --daily 04:07Depending on the configuration of WordPress and the number of files, the autorun may take some time.
Please examine the time it takes before running the operation.
Also, the IO load on the virtual machine may increase, so please avoid times when the load on your website increases.
Analyzer performs auditing and reporting on data from 00:00 to 23:59 of the previous day on which the command was executed. Therefore, it is recommended that the command is executed after the date has changed.
The results of the auditing and reporting by Analyzer include the results of malware and virus scans and the results of OS/middleware automatic updates. By setting the time after the malware and virus scan and OS/middleware automatic update are completed, the auditing and reporting can include the latest results.
If the message "on completed." is displayed as shown below, the setup for Analyzer's autorun is complete.
# analyzer on --daily 04:07

(omitted)

on completed.
To Operate More Securely
Set up IP address limitation and Basic Authentication
By restricting access to the WordPress admin page, you can reduce the risk of WordPress being taken over or compromised by a malicious user.
Note that Basic authentication is required by default for access to the WordPress admin page on KUSANAGI for profiles provisioned after 9.6.0.
If you are using nginx, use the kusanagi accesslimit command for setup.
As an example, we are setting the access limit back to the default.
# kusanagi accesslimit resetIf you are receiving malicious access from certain IP addresses, it is also effective to setup the system to deny access from those IP addresses.
If you are using nginx, use the kusanagi accesslimit command for setup.
As an example, we setup to limit access from 192.168.1.1.
# kusanagi accesslimit on --documentroot --deny 192.168.1.1For more information on automatic setup commands and options for secure operations, please see the following pages.
Security Edition Commands
Analyzer Commands